 The Good Sign Company
Adhesive mounting products
Compare products only after checking the stated item-weight range, approved surfaces, preparation steps, application time, and removal directions.
Browse category: Shop picture-hanging stripsComparison
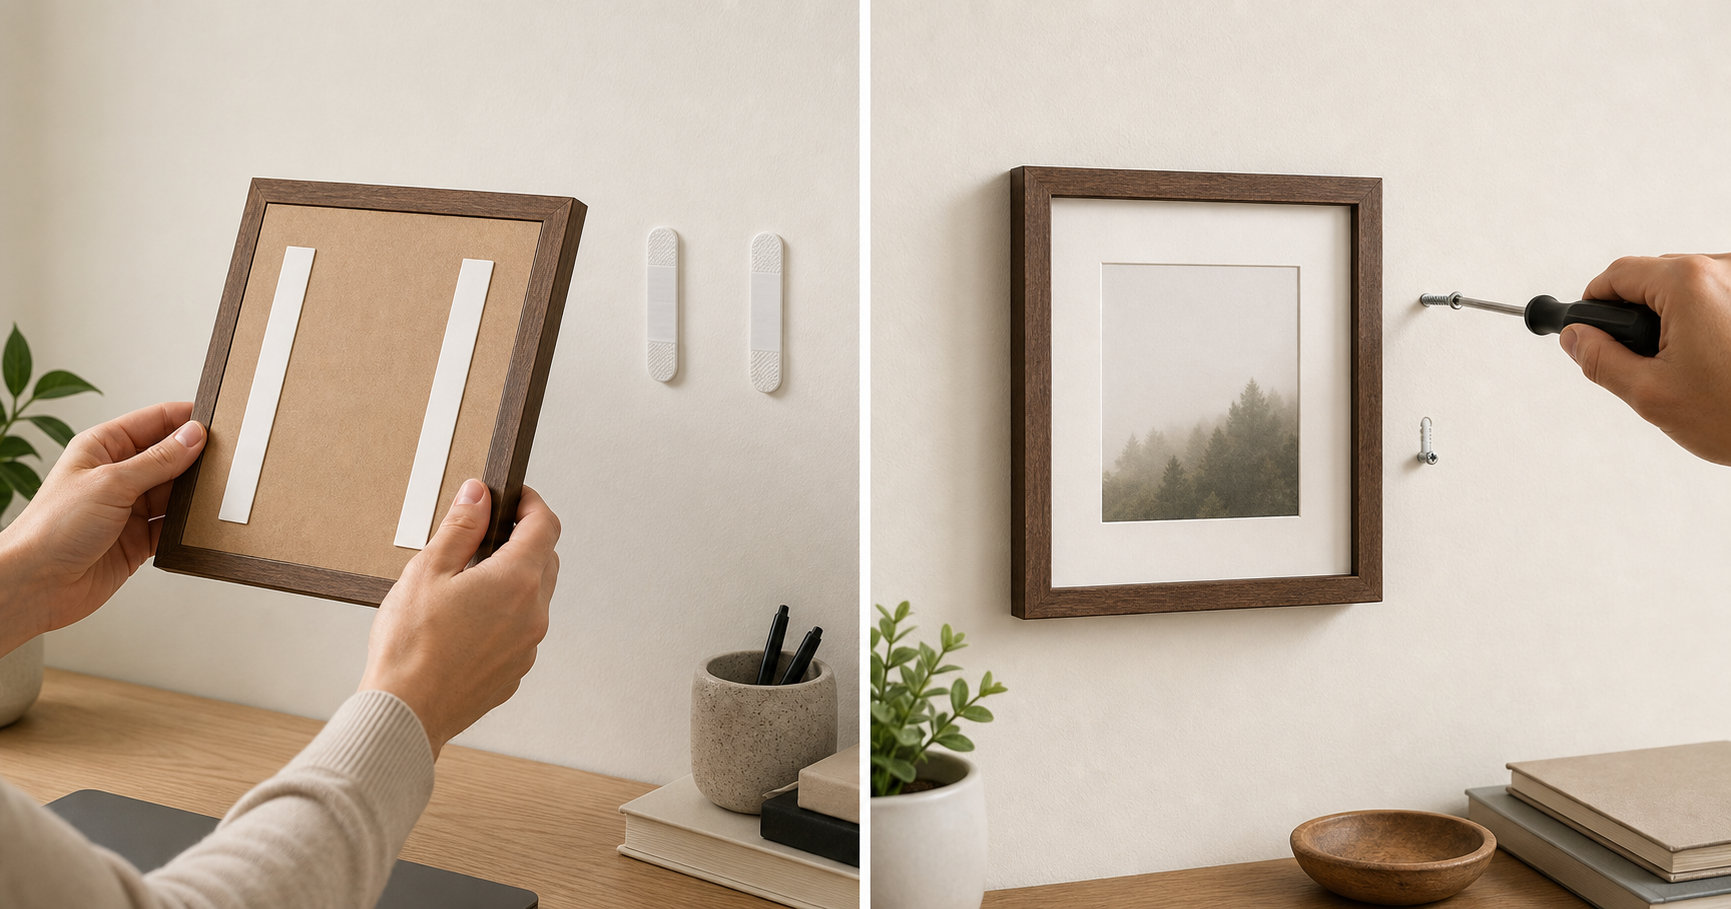
Adhesive mounting can keep a lightweight indoor sign visually clean and avoid a drilled hole, but it depends heavily on the product instructions, sign weight, and wall finish. Screw mounting takes more setup and leaves holes, yet it is often the clearer route when a sign has purpose-made hanging points or needs anchors selected for the wall.
Disclosure: As an Amazon Associate, we may earn from qualifying purchases and approved partner referrals.
Compare products only after checking the stated item-weight range, approved surfaces, preparation steps, application time, and removal directions.
Browse category: Shop picture-hanging stripsMatch screws, anchors, and hanging points to the sign instructions and the actual wall material; do not choose hardware from sign size alone.
Browse category: Shop picture-hanging hardwareUse the pillar guide to compare hooks, standoffs, cable management, frames, and non-wall display alternatives.
Read the sign mounting supplies guideAdhesive strips or pads can suit a modest indoor decor sign when the sign, adhesive product, and wall all meet the maker's stated conditions. The main appeal is a concealed mounting method with no drilled hole at installation.
Screws make sense when a sign is designed around mechanical hanging points and the wall material is known. They allow the installer to select appropriate anchors or fasteners rather than relying on adhesion to the surface finish.
Adhesive mounting fits: a renter or homeowner hanging a small, lightweight indoor sign on a smooth, sound wall when both the sign maker and adhesive maker support that setup. Permission rules still belong to the owner, landlord, or property manager—not a product label or this guide.
Screw mounting fits: a homeowner or small office hanging a framed sign, acrylic panel, or plaque with defined mounting points on a wall whose construction is understood. It also suits readers who accept small repair work in exchange for a mounting route designed around hardware.
A shelf or stand fits better: anyone facing uncertain paint, wallpaper, tile, crumbly material, an unknown wall cavity, or a sign that can be displayed securely without wall attachment.
For adhesive mounting, read the instructions before opening the package. Confirm surface compatibility, clean or prepare the wall only as directed, use the required quantity and arrangement, apply pressure as specified, and respect any waiting period before loading the strips. Keep removal tabs reachable if the system uses them.
For screws, identify the wall material and the sign's mounting points before choosing hardware. Measure from the actual hanging points, check level, and use a detector or qualified help where concealed wiring, plumbing, masonry, or wall construction is uncertain. A heavy, valuable, powered, or overhead sign deserves installation guidance specific to that product and location.
Recheck either setup if the sign shifts, the wall finish changes, an adhesive edge lifts, hardware loosens, or the room becomes warmer or more humid than the product permits. Follow the sign and mounting-product maintenance directions.
Compare more hardware and display options in the sign mounting supplies pillar. If adhesive remains a possible fit for a light, flat piece, use the removable mounting strip guide to check sign-back contact, wall compatibility, application, and removal access. If the sign itself is still undecided, use the room decor sign guide to narrow material, scale, and placement. For a lighted display, compare plug-in and battery-powered signs before committing to mounting points or a cord route.