Tabletop Lighted Sign Guide
Best edge-lit acrylic signs for desks and shelves.
An edge-lit acrylic sign works best when its complete base fits the surface, the etched or printed message stays readable at the normal viewing angle, and the brightness and cord route do not compete with a monitor, lamp, books, or work space. The right choice starts with placement—not the brightest product photo.
Disclosure: As an Amazon Associate, we may earn from qualifying purchases and approved partner referrals.
Category route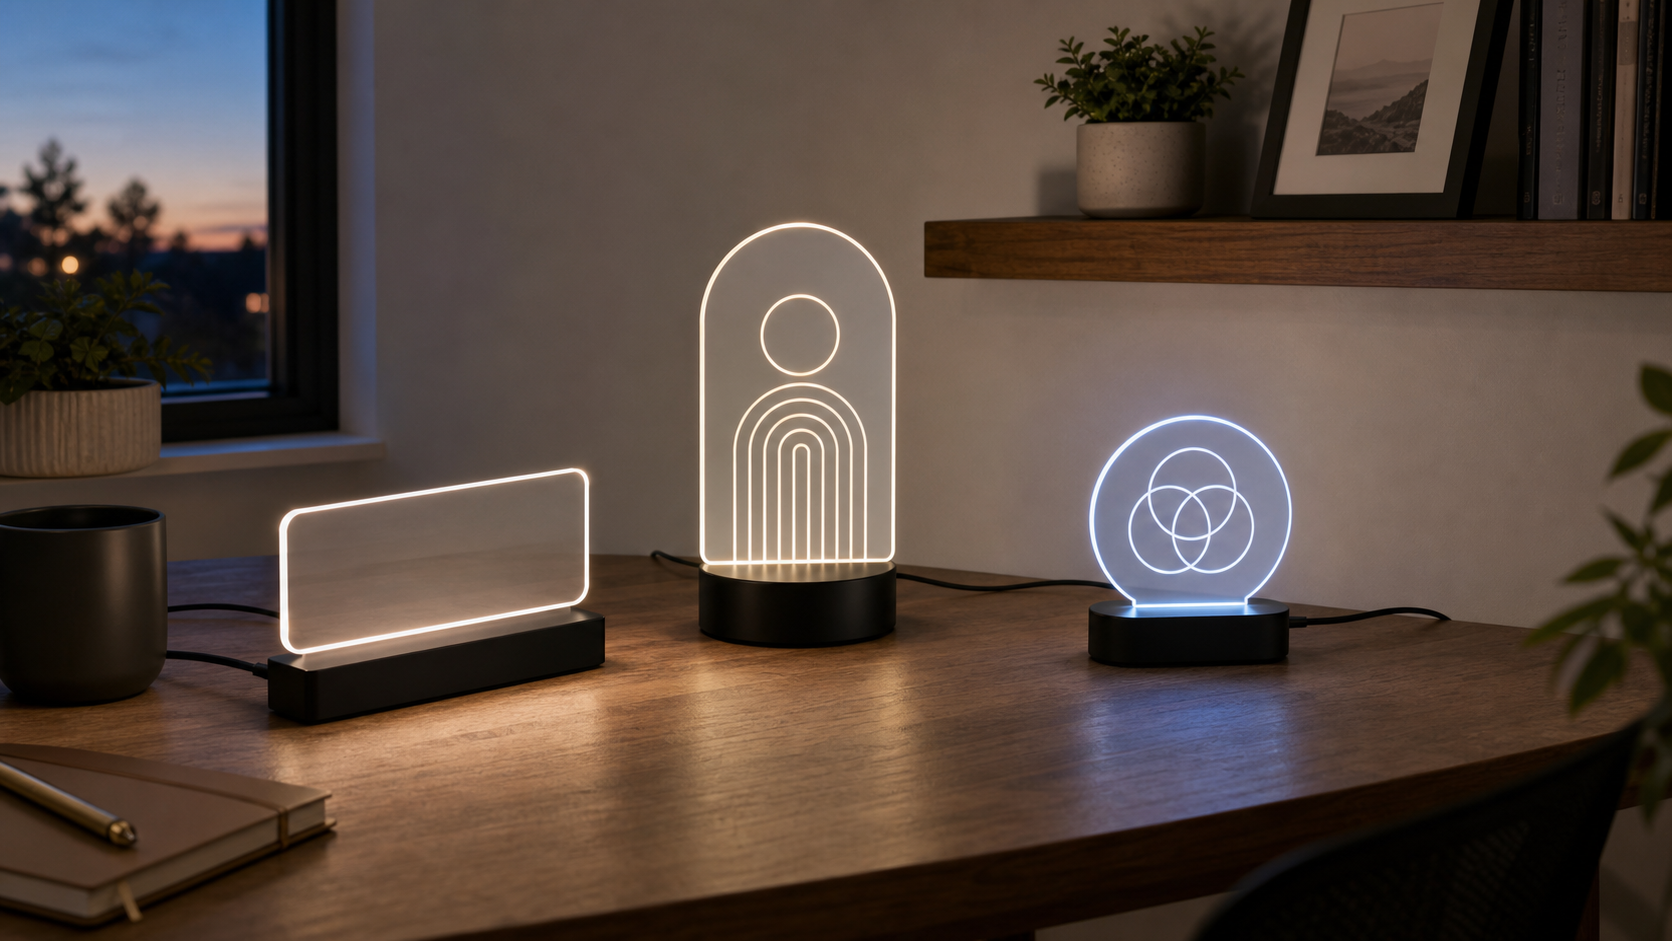
Best overall starting route
Compare the whole sign: acrylic panel, base, controls, and cable.
Use listed dimensions for both the panel and base, then check the power method, brightness controls, included design or customization method, and seller care instructions. This is a category comparison; verify the current listing rather than assuming every sign includes the same base or features.
Related: compare unlit signs for shelves, light boxes for camera backgrounds, or the broader room decor sign guide.
How we compare edge-lit acrylic signs
This framework does not claim hands-on testing or rank current named products. Compare each candidate using the listing, maker instructions, and your measured setup:
- Complete footprint: record the base width and depth, not only the acrylic panel size, and leave room for nearby objects.
- Panel readability: check message length, line weight, contrast, and whether the design reads from the chair, doorway, or camera position that matters.
- Brightness control: look for clearly described on/off, dimming, or color controls when the sign will share a room with screens or sleep.
- Power route: identify the stated power source and connector, then map the complete cable and adapter route to an appropriate outlet.
- Base and panel fit: confirm which panel and base are supplied together; similar-looking inserts are not automatically interchangeable.
- Care and finish: follow the maker's instructions for the acrylic face, printed or etched design, edges, and base.
Best format by desk or shelf job
Test the footprint and viewing angle first
Make paper templates for the listed panel and base dimensions. Place them on the actual desk or shelf with the monitor, lamp, books, speakers, and charging gear in their normal positions. Sit and stand where the sign will be viewed, then check whether the panel blocks anything or disappears behind foreground clutter.
Glossy acrylic can reflect windows, task lights, and screens. A design that looks crisp straight on may lose definition from the side, so test the proposed angle at the time of day when the sign will usually be lit. If it will appear on video, check it through the camera preview rather than judging only with your eyes.
Plan power and brightness as part of the display
- For a working desk: keep controls reachable and the cable away from keyboard, chair, and frequently moved items.
- For a bookshelf: leave access to books and route the cord without pinching it behind furniture or creating a snag.
- For a shared room: prioritize clearly described brightness control and choose a placement that does not shine directly into another person's sightline.
- For a camera background: reduce brightness until the design retains detail on camera; a larger desk-background light box may read better from farther away.
Use only the supplied or manufacturer-specified power setup and follow the product instructions. Do not hide adapters or cords where heat, damage, or inspection becomes a concern.
Who should skip an edge-lit acrylic sign?
- Skip it when the surface is already crowded or too shallow for the complete base and safe cable route.
- Skip reflective acrylic when a window, lamp, or screen produces glare at the normal viewing angle.
- Skip a powered sign if an exposed cord would cross a walkway, work area, moving chair, or frequently handled shelf.
- Skip multicolor effects when the room needs a calm, fixed visual cue or the controls would become an ongoing distraction.
- Skip intricate custom art when the sign will be viewed from across the room; a simpler light box or larger unlit panel may communicate more clearly.
- Skip this category for regulated wayfinding, emergency information, or code-sensitive business signage; get project-specific professional guidance.
The practical bottom line
Start with a short message, a base that fits the measured surface, a clearly described brightness control, and a tidy power route. Compare the actual listing's panel and base dimensions before ordering, then test placement with a paper template. If lighting is optional, an unlit acrylic sign or compact shelf sign may preserve more usable space.
 The Good Sign Company