Reusable Sale Sign Guide
Best reusable signs for yard sales and garage sales.
A reusable sale-sign kit should guide drivers with a quick arrow, show the address or sale hours only where needed, let prices change without waste, and pack flat after the last table is cleared. The best setup is a small coordinated system—not one overloaded sign trying to do every job.
Disclosure: As an Amazon Associate, we may earn from qualifying purchases and approved partner referrals.
Category route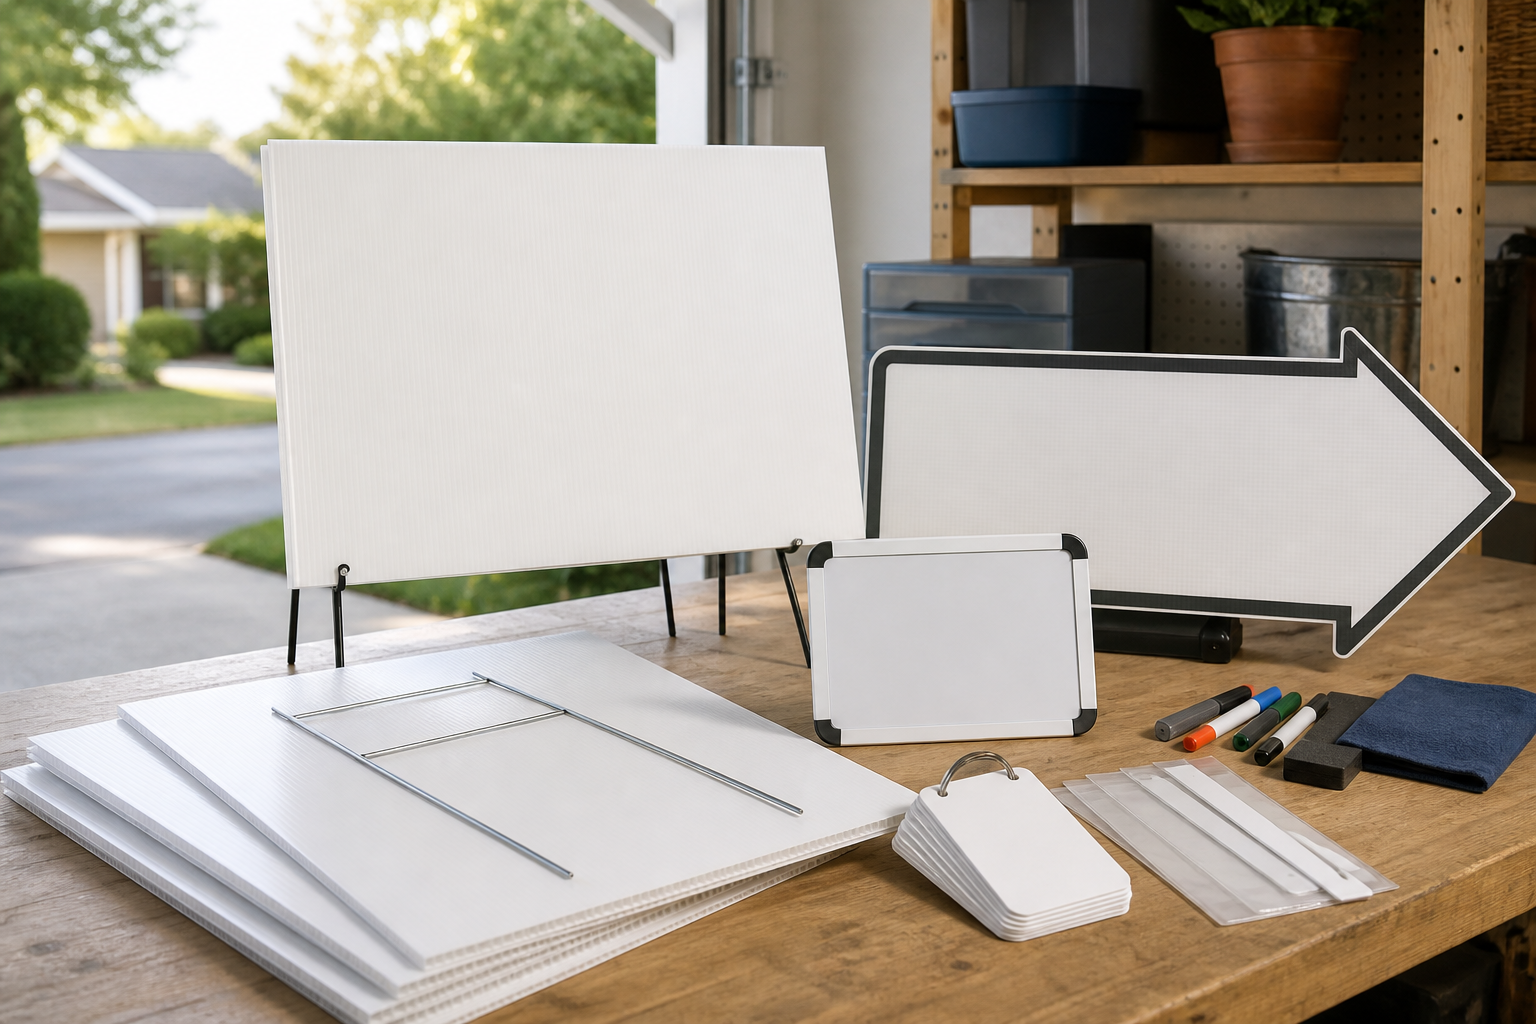
Best overall starting route
Start with blank, changeable signs that separate direction from details.
Compare reusable corrugated-plastic signs, arrow signs, dry-erase boards, and replaceable label systems by complete size, writing area, support hardware, storage footprint, and the maker's use and care instructions.
Related: use the small-event directional sign guide for multi-zone venue wayfinding, or the tabletop sign-stand guide for indoor price and category cards.
How we compare reusable sale signs
This is a category comparison and buying framework, not hands-on testing or a ranking of current named products. Compare candidates in this order:
- One job per sign: directional signs need a large arrow; the address, hours, payment notes, and prices can use separate signs closer to the sale.
- Approach readability: favor short wording, bold contrast, and enough blank space to recognize the arrow before a driver reaches the turn.
- Changeability: check whether dates, arrows, and prices use dry-erase surfaces, removable labels, slide-in cards, or replaceable panels.
- Support and placement: compare wire stakes, rigid frames, tabletop bases, and hanging points with the actual surface and manufacturer instructions.
- Weather plan: do not assume a sign, marker, label, or support is rainproof or wind-ready. Follow stated product limits and bring signs in when conditions exceed them.
- Storage: count stakes, markers, labels, and loose number cards; a labeled tote or flat sleeve keeps the kit usable next time.
Best format by sign job
Large arrow sign: best for the final turns
Use the fewest words possible. Check that the arrow direction can be changed or that left- and right-facing pieces are included, then test visibility from the real approach.
Changeable staked panel: best for address and hours
Keep variable details on a panel you can rewrite or relabel. Confirm writing compatibility, usable area, stake attachment, and cleaning instructions.
Dry-erase table board: best for changing prices
Use one category or price message per board. Compare base stability, glare, marker compatibility, erasing instructions, and the room it takes from merchandise.
A quick comparison framework
- Several turns from a main road: use matching arrow signs at decision points and save details for the final approach.
- One visible driveway: one address-and-hours sign may be enough; extra roadside signs can become clutter.
- Many small items: use category or table prices before making an individual sign for every object.
- More sales planned: choose generic blanks and keep dates, arrows, and prices replaceable.
- No reliable placement area: prioritize online listings and an on-property entrance sign instead of improvising off-property mounting.
Plan placement before buying
- Draw the route and mark only the turns where someone could reasonably choose the wrong direction.
- Check current local rules and property permission before placing any sign, especially near roads, sidewalks, utility areas, shared entrances, or property you do not control.
- Mock up the arrow and wording at full size, then view it from the actual approach without stopping in traffic.
- Assign one person to install, monitor, and remove every sign promptly after the sale.
- Clean signs as directed, let them dry, count the hardware, and store the complete kit together.
Who should skip these options?
- Skip a large kit for a one-time sale that can be found with one on-property sign and a clear online listing.
- Skip tiny handwritten boards for moving drivers; they invite too much text and too little contrast.
- Skip dry-erase faces when the product instructions or expected conditions do not suit the planned exposure.
- Skip improvised weights, stakes, or attachments that conflict with the sign maker's instructions or create a trip or roadside hazard.
- Skip placement on shared, public, roadside, or private property until the relevant rules and permission are clear.
- Do not treat this buying guide as traffic-control, property, HOA, permit, or local-code advice.
The practical bottom line
Build a compact kit around three jobs: large arrows for turns, one changeable address-and-hours sign near the destination, and small reusable price boards at the tables. Keep wording brief, verify every placement, remove signs promptly, and store the complete kit flat for the next sale.
 The Good Sign Company