 The Good Sign Company
Reusable Party-Sign Frame Guide
Best sign frames for printable party signs: match the paper, table, and viewing angle.
A printable sign only works when its holder fits the actual sheet, stays upright on the assigned table, and remains readable under the venue lighting. Choose the frame after deciding the message location and print size—not simply by whichever finish matches the decorations.
Disclosure: As an Amazon Associate, we may earn from qualifying purchases and approved partner referrals.
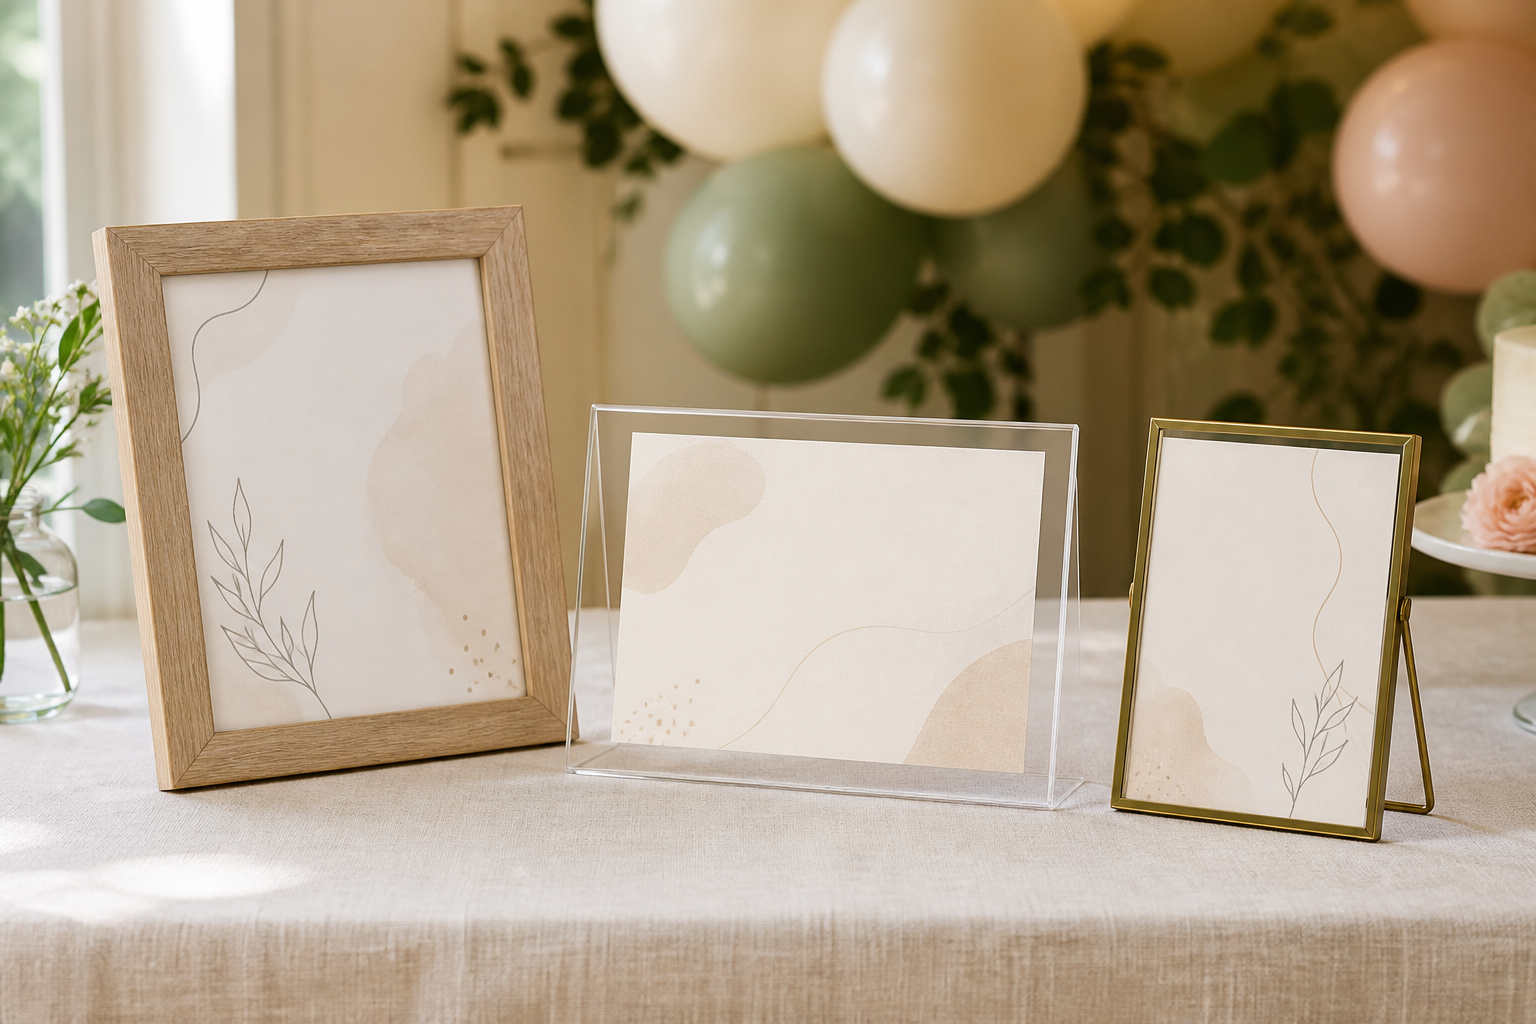
Category comparison
Start with holders made for your exact insert size and orientation.
Compare the listed insert opening, overall footprint, portrait or landscape support, loading method, and care instructions. A frame advertised around a familiar paper size may crop the edges or require trimming.
Best Frame Formats by Party-Sign Job
These are fit-based categories, not named winners or hands-on rankings.
- Simple picture frame: best for a polished welcome or gift-table sign. It offers familiar finishes and broad size choices. Check whether the back stand works in both orientations and whether the glazing produces reflections at the planned angle.
- Clear acrylic tent holder: best for menus and instructions that change. Top- or side-loading holders make inserts easy to replace and keep both faces visible when designed for double-sided use. Fingerprints, glare, and the base footprint deserve a real setup test.
- Open metal tabletop frame: best when the frame should feel visually light. A slim border can suit compact tables, but confirm the stand is stable, the corners are finished, and the insert is held flat.
- Wood block or slot holder: best for small cards in crowded displays. It uses less vertical hardware and packs easily. Match the slot width to the paper, card, or mounted print thickness so the sign does not lean.
- Freestanding floor frame or easel: best for a large entrance print. This is a different footprint and support decision from a tabletop frame. For larger welcome boards, use the wedding welcome sign framework and verify the support separately.
How We Compare Frames for Printable Signs
- Insert dimensions: verify the visible opening as well as the maximum sheet size. Borders and glazing can hide content close to the edge.
- Orientation: confirm the frame stands securely in the portrait or landscape direction used by the artwork.
- Loading method: rear tabs suit signs installed once; slide-in acrylic and slots are quicker when the message changes during setup.
- Readability and glare: test clear covers under the venue's window, overhead, and decorative lighting. An uncovered card can be easier to read but offers less handling protection.
- Base stability: compare the full footprint, center of gravity, hinge or easel-back position, and the likelihood of routine table bumps.
- Transport: protect glazing, corners, and loose backs in a rigid container. Acrylic avoids broken glass but can still scratch or crack.
- Reuse: neutral finishes and standard paper sizes are easier to repurpose for later parties, seasonal menus, or household displays.
A Quick Comparison Framework
- One formal focal sign: choose a framed print with enough visual weight for the welcome or gift table, then keep nearby accessories lower.
- Several coordinated table signs: choose one standard insert size and holder family so replacement printing, packing, and setup stay consistent.
- Messages may change at the venue: use top-loading acrylic, a slot holder, or another format that accepts a replacement insert without tools.
- The table is already crowded: use a narrow-footprint holder, reduce the print size, or combine messages instead of adding several frames.
- The sign must be read from the entrance: a small tabletop frame may be the wrong product. Mock up the text at full size from the real approach distance.
For the message and placement decision, see the graduation welcome and photo-table guide or the broader small-event directional sign guide. If the holder itself needs more height or angle control, compare tabletop sign stands.
Measure Before Ordering
- Assign one job and one location to each printable sign.
- Print a draft at full size and trim it exactly as the final insert will be trimmed.
- Record the sheet dimensions, orientation, and safe margin around all important wording.
- Mock up the holder's outer width, height, and base footprint on the real table.
- Test the reading angle and reflections from the route guests will use.
- Plan a labeled transport sleeve or box for every frame and its spare insert.
Who Should Skip These Options
- Skip a glass-front frame where breakage during transport or setup is a practical concern.
- Skip a glossy clear holder where reflections obscure the message from the main approach.
- Skip a rear-loading frame when staff need to swap inserts quickly during the event.
- Skip multiple tiny frames when one larger, clearer sign can carry the same instructions.
- Skip a tabletop format when guests need to read the sign from across a room or before reaching the table.
- Do not assume a holder is suitable outdoors or in a high-traffic route without verified product specifications and venue approval.
The Practical Bottom Line
For most printable party signs, choose a reusable holder around a standard paper size, then verify the visible opening, orientation, loading method, glare, and full table footprint. A clear acrylic holder is convenient for changing inserts; a simple wood or metal frame gives a more finished focal sign. The best choice is the one that keeps the message readable and the setup easy to transport and reuse.