 The Good Sign Company
Creator-Set Sign Buying Guide
Best signs for podcast and video backgrounds that stay readable on camera.
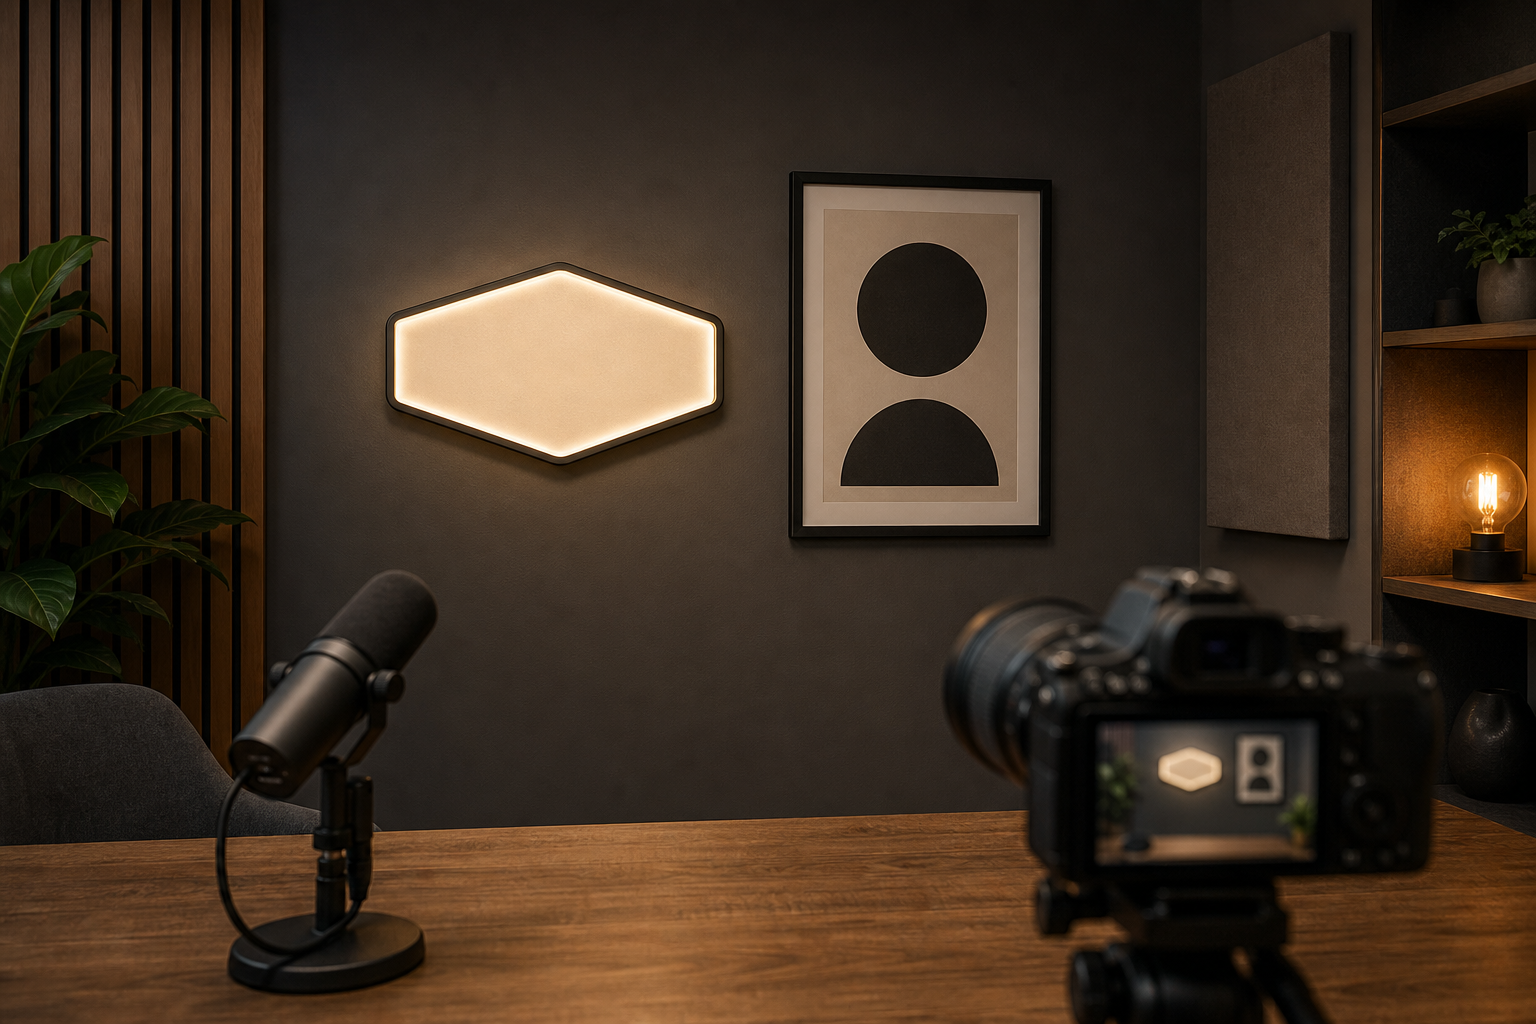
The best background sign is not simply the brightest or largest. It fits the normal camera crop, keeps its shape when the lens focuses on the host, and supports the show or brand without pulling attention away from the conversation. Start with a recorded camera test, then compare lighted, logo-style, and non-lighted formats using the same frame.
Disclosure: As an Amazon Associate, we may earn from qualifying purchases and approved partner referrals.
Best route for a settled show identity
Use a small custom sign when the message and camera frame are stable.
A custom piece makes the most sense when one short name, mark, or graphic will appear across many episodes. Prepare the visible width, a screenshot of the normal frame, the wall surface, desired lighting style, mounting plan, and power route before asking for options.
Best Sign Type by Production Need
- Dimmable lighted sign: best for a controlled studio. It creates a clear focal point when its output can be balanced with the host lighting. Confirm the current product or maker information for dimming, power, mounting, and installation.
- Matte non-lighted logo-style panel: best for simple camera behavior. It avoids an illuminated face, but contrast and reflections still matter. Side lighting may reveal the shape more cleanly than a glossy face.
- Framed print or dimensional letters: best for a flexible set. These formats can be easier to move or replace when a show changes. Check small-screen readability before assuming fine detail will survive.
- Changeable message sign: best for rotating segments. Use it when episode titles or calls to action change, provided the letters are large enough and the update work is realistic for every recording.
- Small shelf sign: best for renters or changing camera angles. A stable freestanding piece avoids a permanent wall location, but it needs enough shelf depth and clearance from equipment.
How We Compare Podcast and Video Background Signs
These are format recommendations based on production fit, not hands-on tests or unsupported rankings of individual products. Compare each candidate using a recorded clip from the camera, lens, crop, lighting, and platform you normally use.
- Camera framing: measure the usable background area inside wide, medium, and vertical crops. Leave breathing room so the sign does not appear pinned to a frame edge.
- Small-screen readability: view the recording at the size a phone viewer will see. Short wording and a simple silhouette usually survive better than fine detail.
- Exposure and brightness: check whether the sign turns into a bright patch or makes the camera darken the host. Brightness control adds useful flexibility.
- Glare: test glossy faces and frames with every key, fill, practical, and window light used during production.
- Focus behavior: background blur can soften lettering before it softens the overall sign shape. Test the autofocus and aperture settings actually used.
- Flicker evidence: do not assume a lighted sign will be flicker-free. Look for relevant manufacturer information and record it at the frame rates and shutter settings you use.
- Mounting and power: plan the wall attachment, service access, outlet, controls, and tidy cord path as one system. Follow the sign and hardware providers' instructions.
A Practical Comparison Framework
- Interview podcast: prioritize a calm, consistent background and a sign that remains identifiable behind two people or changing chair positions.
- Solo teaching video: protect room for on-screen graphics and vertical crops. A smaller sign placed away from the graphic side may be more useful than a dominant centerpiece.
- Livestream: test automatic exposure, scene changes, and lower streaming resolution. A simple shape or short name is less fragile than detailed art.
- Shared or temporary studio: favor a freestanding or easy-to-relocate format with a repeatable placement mark.
Run a Camera Test Before Ordering
- Capture screenshots of the normal horizontal and vertical frames with the host seated or standing in the usual position.
- Tape up a paper rectangle at the proposed sign size and record at the final resolution, frame rate, shutter setting, and background blur.
- View the clip on a phone, laptop, and muted autoplay screen. Check whether the sign still reads without becoming the subject.
- Test daytime and nighttime lighting. Move likely reflections across the paper mockup and note where a glossy face could catch them.
- Mark the mount and outlet positions. Use the mounting and setup guide for the next planning questions.
Who Should Skip a Lighted Background Sign
- Skip it when the camera runs on automatic exposure and a bright background repeatedly darkens the host.
- Skip custom production while the show name, visual identity, camera crop, or room assignment is still changing.
- Skip detailed lettering when background blur or a small viewer window makes it unreadable; use a simpler mark or non-text shape.
- Skip wall mounting when the lease, wall surface, equipment layout, or approved attachment method is unresolved.
- Skip a powered sign when there is no tidy, supported cord route. A matte panel or framed print may solve the background problem more simply.
Choose the Narrowest Useful Buying Route
Choose a custom lighted or non-lighted sign when the identity and studio layout are settled. Choose a movable shelf sign or framed graphic when the set still changes. If you only need a compact changeable prop, the desk-background light-box guide is the narrower match; for a general workroom rather than a production set, use the home-office sign guide.