 The Good Sign Company
Portable Menu Sign Buying Guide
Best chalkboard signs for pop-up menus that change without slowing setup.
A useful pop-up menu sign travels without becoming a burden, stands securely in the space you actually have, and gives customers the main choices before they reach the order point. Compare formats by readable area, update routine, packed size, writing surface, cleaning, and where the sign sits in the customer approach.
Disclosure: As an Amazon Associate, we may earn from qualifying purchases and approved partner referrals.
Category starting point
Match the board to the customer approach and your packed kit.
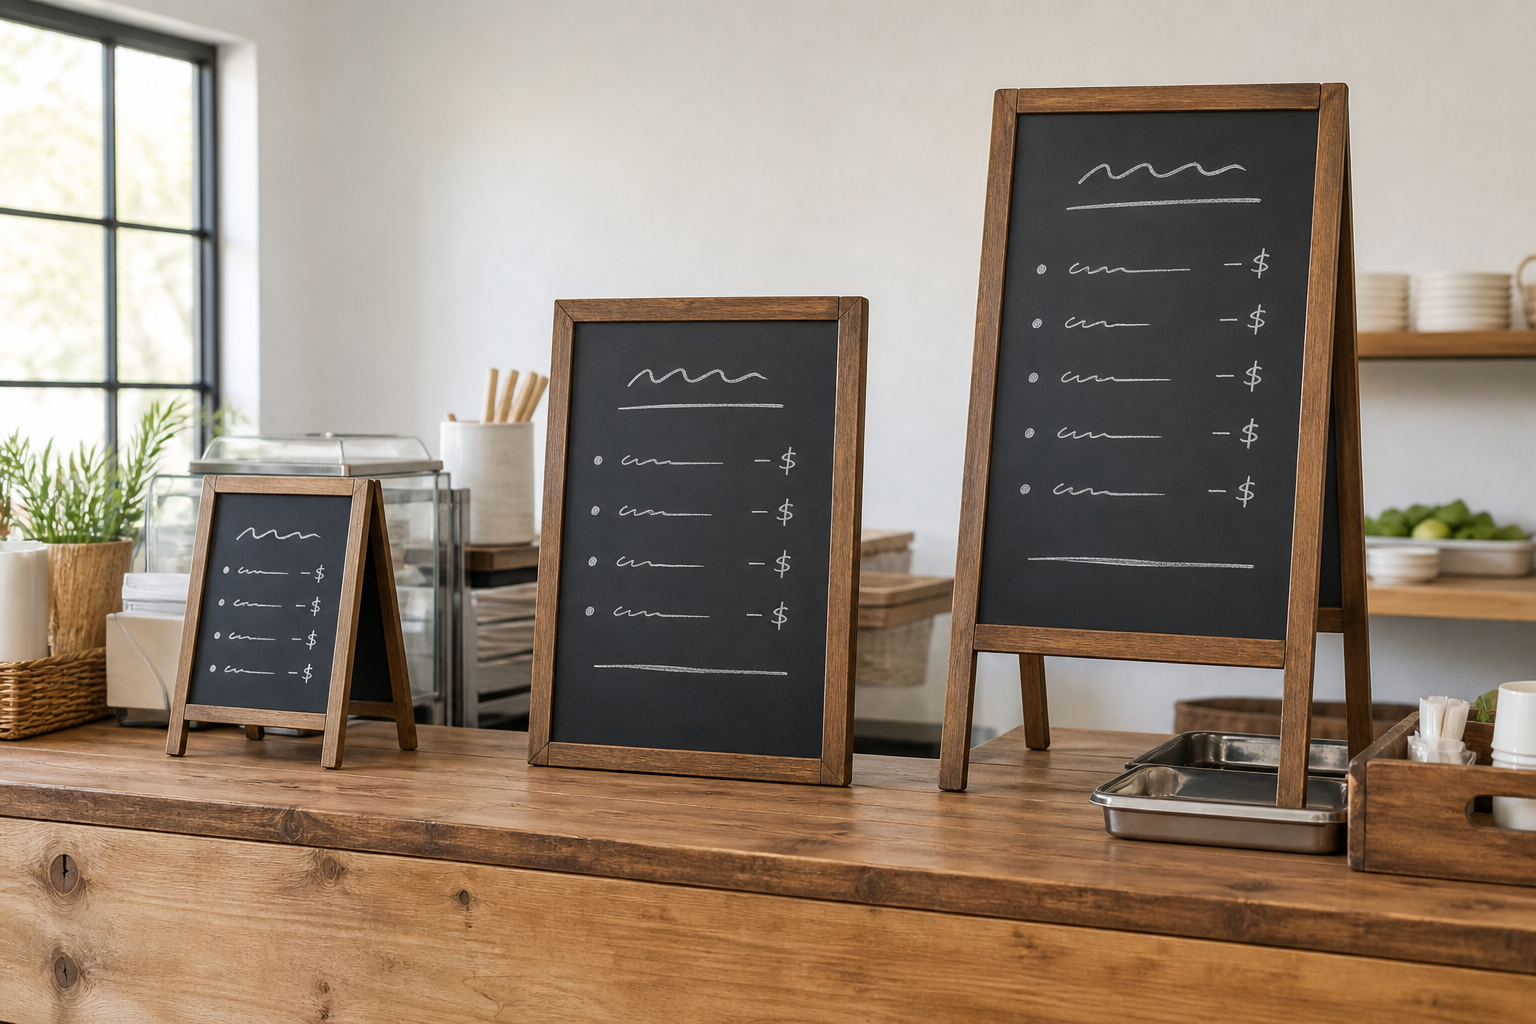
Use a compact tabletop board for one short decision, an upright counter board for a concise menu, or a larger easel format when customers need to read before joining the line. Confirm the listed dimensions, surface type, compatible writing tools, care directions, base or stand, and intended location for any specific product.
Best Chalkboard Format by Pop-Up Need
These are format recommendations based on setup fit, not hands-on tests or rankings of individual products.
- Small tabletop A-frame: best for one focused choice. Use it for a short specials list, pickup instruction, or a category label. Check the open footprint and viewing angle, not only the folded dimensions.
- Upright framed counter board: best for a concise menu near the order point. It gives more writing area without occupying the floor. Pair the base depth with the usable counter space left after payment equipment, packaging, and food-service items.
- Portable easel board: best for reading before the queue. The larger face can support a clearer hierarchy, but the stand, packed length, carrying method, and allowed placement become part of the purchase.
- Chalkboard panel in a separate stand: best for replaceable inserts. A removable panel may be easier to rewrite flat and replace later. Verify that the stand grips the listed panel thickness and remains stable on the intended surface.
- Several mini chalkboards: best for close-range item labels. They work beside a small number of products, not as a substitute for a readable main menu. Plan storage so the little boards and supports do not disappear between events.
How We Compare Chalkboard Menu Signs
- Readable area: subtract the frame and margins from the overall dimensions, then test the real menu at full size from the customer position.
- Surface and writing tool: determine whether the maker calls for traditional chalk, a specific chalk marker, or another tool. Do not assume every dark writing surface accepts or cleans up from the same materials.
- Message hierarchy: reserve the largest lettering for categories or the first decision. Descriptions and every variation do not all belong on the main board.
- Stability and footprint: compare the open base, hinge or stand, surface level, and exposure to bumps. Follow venue directions and product instructions for placement.
- Cleaning routine: check the maker's care guidance and test the chosen writing tool before the first event. Pack the approved cleaning supplies separately from food and service items.
- Packed size: measure the board in its transport position and decide where it rides without rubbing against finished faces or fragile inventory.
- Update speed: use a saved layout, short menu copy, and a proofing step. A highly flexible board can still slow opening if the entire design must be reinvented each time.
A Practical Comparison Framework
- One changing special: choose a small tabletop board and keep the stable core menu elsewhere.
- Short menu ordered at the counter: use an upright counter board if customers can see it before they need to decide.
- Queue forms away from the counter: a larger easel can move the decision earlier, subject to the venue's placement rules and the stand's intended use.
- Many small items on display: combine a simple overview board with mini labels; avoid forcing every detail onto one crowded face.
- Menu rarely changes: skip a rewriteable board if a printed insert in a reusable holder will be faster, neater, and easier to proof.
Mock Up the Menu Before Buying
- List only the information a customer needs for the first ordering decision.
- Draw a rectangle at the candidate board's usable writing dimensions, excluding its frame.
- Write the menu with the intended tool and view it from the actual approach distance.
- Mark the board's open footprint on the counter or floor and place the rest of the setup around it.
- Pack a cardboard mockup with the event kit to test transport and storage before ordering.
Who Should Skip a Chalkboard Menu
- Skip it when handwriting consistency or daily rewriting would make the menu harder to maintain than a printed insert.
- Skip a tabletop format when customers cannot see the counter until they are already ordering.
- Skip a large easel when the venue has not approved its location or the packed stand does not fit the transport plan.
- Skip a single crowded board when customers need extensive details; use a short overview plus a closer-view menu in a suitable format.
- Skip chalkboard-style surfaces when the product's compatible tools and cleaning instructions are unclear.
Continue the Pop-Up Sign Plan
For a stable cafe wall or counter menu, compare the broader small-cafe menu board formats. For brand identification above or behind the setup, use the hanging market-booth sign guide. Start with the small-business sign planning guide when message, sightline, and placement are still unresolved.