 The Good Sign Company
Small-Studio Arrival Guide
Best check-in signs for small studios: clear without crowding the welcome.
A useful check-in sign answers the first arrival question: should the client wait, knock, scan, text, or speak to someone? The best format depends on the approach sightline, whether instructions change, the available door or counter space, and how much information can be shown without exposing private client details.
Disclosure: As an Amazon Associate, we may earn from qualifying purchases and approved partner referrals.
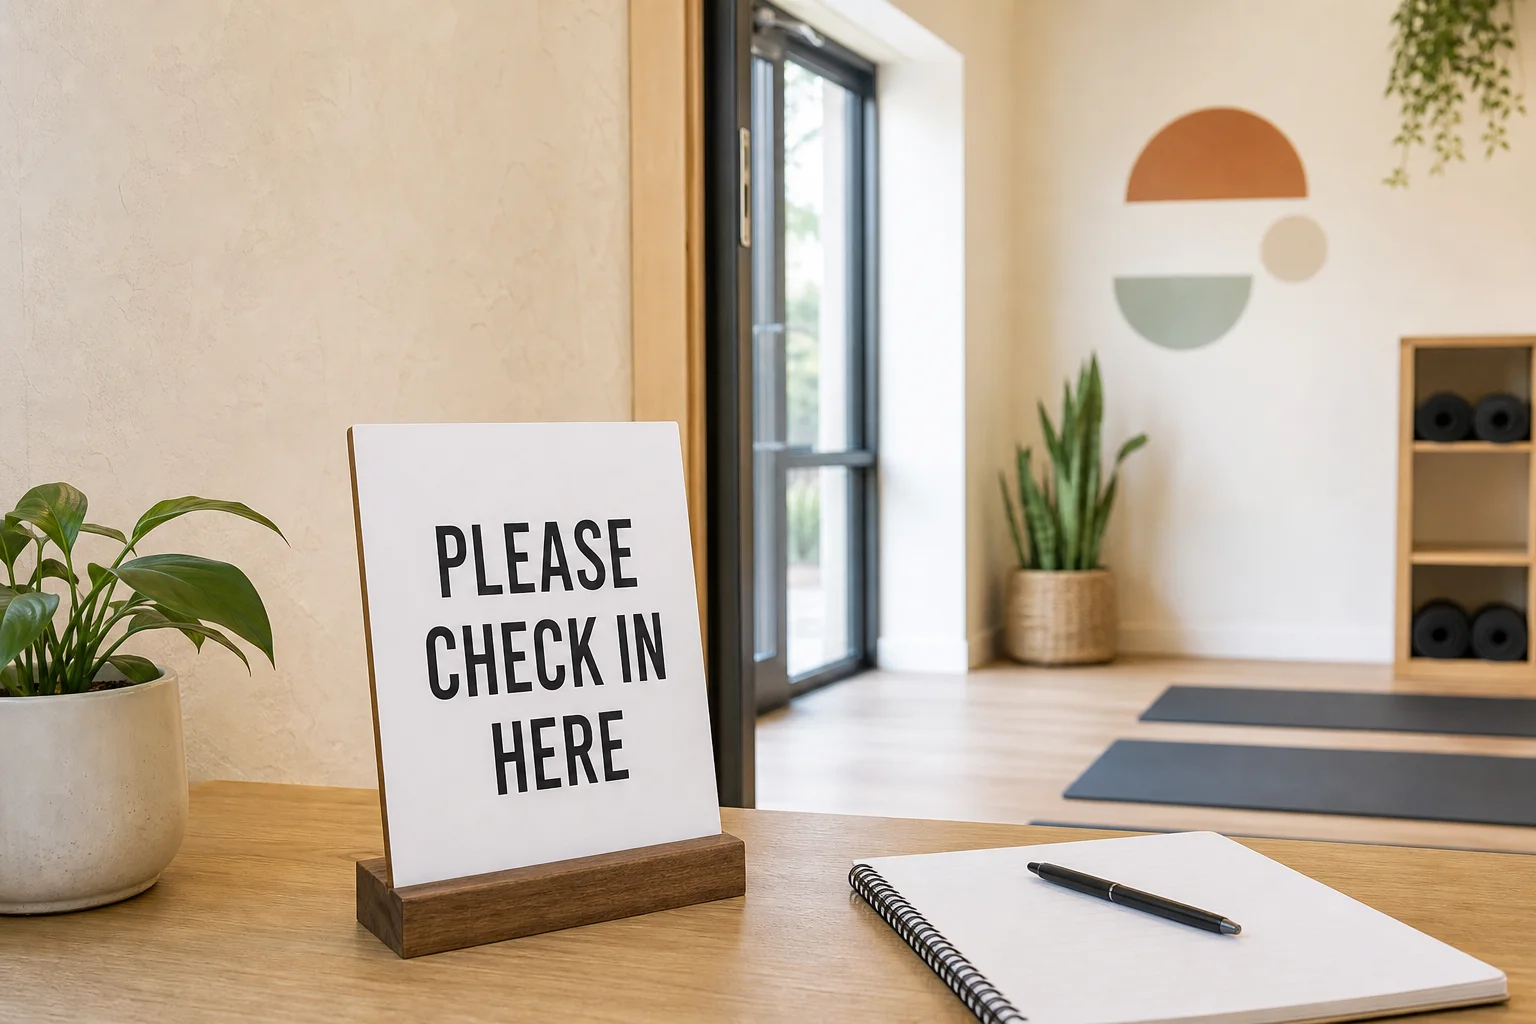
Best flexible starting point
Start with a replaceable tabletop insert when the arrival routine may change.
A clear holder keeps the message easy to revise and avoids committing temporary instructions to a permanent sign. Compare insert size, base stability, viewing angle, glare, and counter footprint for the specific holder.
Best Check-In Sign Formats by Studio Need
These are fit-based categories, not hands-on product rankings.
- Replaceable tabletop insert: best while the routine evolves. It works at a staffed or self-serve counter and makes wording changes inexpensive. Keep it out of payment, retail, and work space.
- Door sign with a changeable insert: best for appointment-only rooms. Use it when the first decision happens before entry. Confirm that the mounting method suits the door and that the message remains readable when the door is open.
- Wall-mounted arrival sign: best for a settled waiting flow. It preserves counter space and can be seen above furniture, but only if the wall is on the natural approach path.
- QR check-in sign: best when a maintained digital action is required. Pair the code with a plain-language purpose and a non-QR fallback. Test the live destination on multiple phones and in the real lighting.
- Small custom brand-and-instruction sign: best for stable wording. Keep the studio name visually separate from the one next action. Temporary hours, staff names, and changing appointment details belong on a replaceable layer.
How We Compare Small-Studio Check-In Signs
- First sightline: the client should find the instruction from the entrance without walking behind a desk or opening the wrong door.
- One clear action: lead with “Please wait here,” “Please knock,” or “Scan to check in.” Move policies and secondary details elsewhere.
- Privacy-safe wording: avoid public name lists, appointment details, service details, or instructions that ask clients to expose sensitive information.
- Changeability: separate stable brand content from hours, staff availability, room assignments, and other details that may change.
- Readability: use short lines, strong contrast, and type sized for the actual approach distance. Reflections can make a clear acrylic holder difficult to read.
- Footprint and stability: a counter sign should stay clear of transactions, products, bags, drinks, and tools while resisting routine bumps.
- Mounting and permissions: confirm surface condition, sign weight, hardware instructions, and property rules before attaching anything to a wall or door.
A Quick Comparison Framework
- Staff always greets clients: use a small identity sign and let the person handle check-in; extra instructions may add clutter.
- Staff may be in a session: place one quiet waiting instruction at the first pause point and state what happens next.
- Several practitioners share the space: use a changeable directory or room insert instead of several competing permanent signs.
- Clients must complete a digital step: use a tested QR sign with a short URL or spoken fallback and an owner responsible for the destination.
- The counter is crowded: move the message to a nearby wall or door only after checking that it remains in the arrival sightline.
Map the full arrival route with the small-business sign planning guide. If the main problem is a room or practitioner label, compare changeable office door sign formats. For a scan-led workflow, use the more detailed QR code counter sign guide.
Plan the Message Before Buying the Sign
- Walk in as a first-time client and photograph the first natural pause point.
- Write the single action the client needs to take, then remove background explanation.
- Separate permanent wording from details that may change next month.
- Mock up the sign at full size and test it from the doorway in daytime and evening lighting.
- Check that no displayed wording reveals client names, appointment details, or sensitive service information.
- Assign someone to update inserts, links, QR destinations, hours, and worn or missing signs.
Who Should Skip These Options
- Skip a permanent custom sign while the check-in process, room assignment, or wording is still changing.
- Skip a QR-only route when visitors may lack a compatible phone, connectivity, or confidence using the code.
- Skip a glossy acrylic holder where window or overhead-light reflections cover the message.
- Skip a tabletop sign when it competes with checkout, product display, sanitation, or working space.
- Skip long welcome copy when the visitor mainly needs one immediate instruction.
- Do not use this decor and wayfinding guide as accessibility, privacy, lease, landlord, fire, electrical, or code advice. Confirm applicable requirements with the relevant authority and qualified professionals.
The Practical Bottom Line
For most small studios, begin with a replaceable tabletop or door insert carrying one privacy-conscious instruction. Test it from the actual entrance, keep changing details replaceable, and assign an owner for updates. Move to a custom piece only after the arrival flow and wording are stable.