Anniversary photo display guide
Best photo display signs for anniversary parties.
The best anniversary photo display sign helps guests follow the couple's story without competing with the photographs. Give the display one clear heading, use short captions only where they add context, and choose frames or holders that fit the real table. The aim is a readable timeline that still feels like a celebration—not a wall of dates and labels.
Disclosure: As an Amazon Associate, we may earn from qualifying purchases and approved partner referrals.
Category route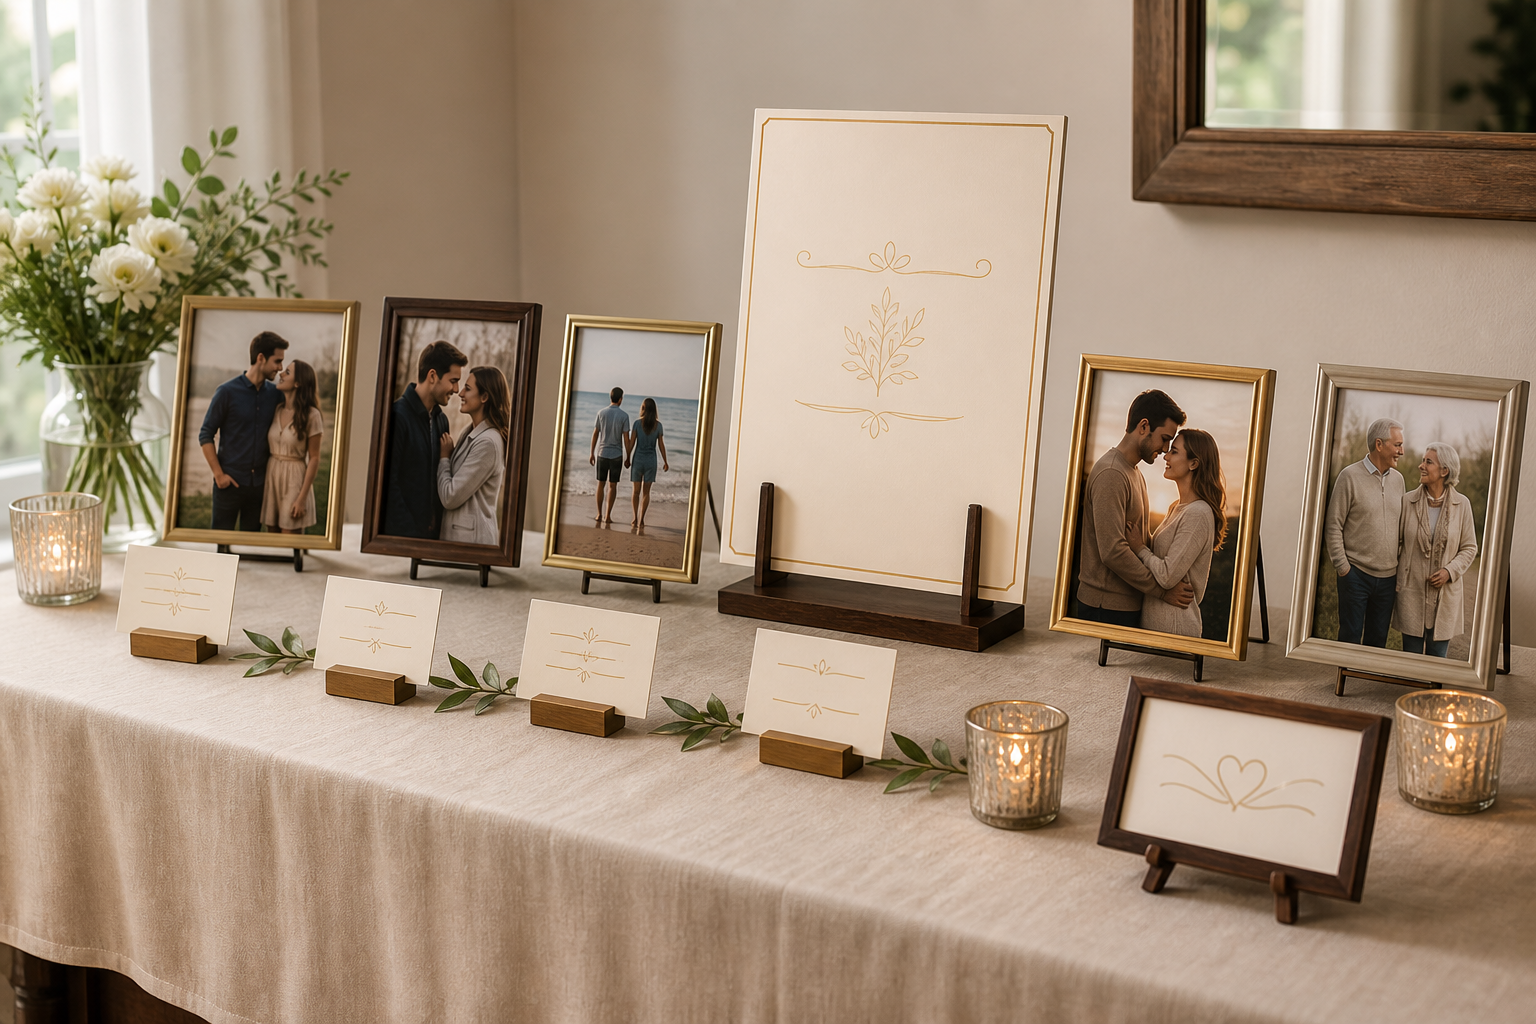
Best flexible starting route
Build the display with reusable frames and small card holders.
A medium header, coordinated photo frames, and low caption holders let the photographs stay dominant. Before buying, compare outer dimensions, orientation, glazing, holder depth, stand footprint, loading method, included pieces, and care instructions.
Need an original keepsake heading? Share a measured custom-sign brief with DaNite Sign Company and confirm current project fit, artwork, dimensions, display support, and terms directly.
How we compare anniversary photo display signs
This is a category comparison and planning framework, not hands-on testing or a ranking of current named products. Compare each option by the complete display it creates:
- Story structure: decide whether guests should follow a strict timeline, a few life chapters, or one featured photograph. The structure determines how many labels are useful.
- Photo prominence: captions should support the images. If labels are larger or more decorative than the photographs, simplify them.
- Readable type: use names, places, or short dates that can be read without leaning across the table. Put longer stories in an album or guest book.
- Glare: glass, acrylic, glossy prints, and laminated cards can all reflect windows and event lighting. Test the proposed angle in the room.
- Full footprint: measure frames and holders with their rear legs or bases open. Those supports consume more depth than the visible faces suggest.
- Transport and keepsake value: count the largest rigid part, edge protection, setup pieces, and which element the couple will realistically display afterward.
Best sign type by display job
Choose a timeline that guests can understand quickly
Start by collecting more photographs than the table can hold, then edit down. A strict year-by-year display can become repetitive; a chapter approach—early years, family life, shared adventures, and today—often tells the story with fewer captions. Whichever structure you choose, keep the order unambiguous from left to right or top to bottom.
Make a full table mockup with paper rectangles before printing. Include the header, every frame, caption holders, flowers, guest book, candles, and any serving pieces planned for the same surface. If the display shares a table with gifts or food, divide the jobs instead of forcing every object into one crowded zone.
Prepare photographs and captions before ordering signs
- Choose the story structure and final number of photographs before buying frames.
- Scan prints at a useful resolution and keep the original files unchanged. Crop copies for each frame orientation.
- Print one sample image at final size. Check faces, contrast, color, and cropping from normal viewing distance.
- Write captions in a fixed pattern, such as year plus place. Proofread names and dates with another family member.
- Test the lightest and darkest photographs behind the proposed glazing under the room's likely lighting.
- Lay out every frame and stand at full size. Leave hand space so a frame can be adjusted without knocking over its neighbor.
- Number the backs of frames and captions to make setup faster and prevent timeline mistakes.
- Pack glazing, corners, and printed faces with clean separators, and assign one person to set up and repack the display.
A quick comparison framework
- Many small photographs: use a few grouped chapter labels instead of a separate sign for every image.
- A short curated timeline: pair consistent frames with one-line caption cards for each photograph.
- One hero image: use a larger framed photograph with one compact keepsake sign; extra labels may be unnecessary.
- A narrow table: favor vertical frames and low card holders, but verify rear support depth before buying.
- Strong window or overhead light: test matte prints, open frames, or adjusted display angles rather than assuming every clear cover will read well.
- A display meant to live on afterward: put customization into one modest sign or frame that fits the couple's home, not the entire temporary table.
Who should skip these options
- Skip a separate caption for every photograph when the dates are not important to understanding the display.
- Skip tiny cards with long stories. Put detailed memories in a photo book where guests can read at their own pace.
- Skip mixed frames if the variation makes the timeline order harder to follow rather than more personal.
- Skip glass frames when transport, table stability, or event handling makes breakage a concern; compare other frame-face options and verify their care needs.
- Skip candles beside paper, frames, greenery, or unstable signs unless the venue and product guidance clearly allow the setup. Battery-operated decor can simplify the arrangement.
- Skip a highly date-specific custom sign if the couple is unlikely to display it after the party. A replaceable insert or less event-specific keepsake may serve better.
- Skip reproducing professional photographs, artwork, or logos unless you have permission to use them.
When a custom anniversary sign makes sense
Custom work is most useful for one lasting element: the couple's names, a short family phrase, or a compact heading sized to a specific shelf after the party. Prepare the exact wording, final dimensions, display method, room and table photos, preferred colors, and the intended post-event location. Confirm artwork approval, specifications, included support, timing, and terms directly with the maker.
For general reusable pieces, the printable party sign frame guide helps compare frame size, orientation, glare, and support. For another photo-led event setup, see the graduation welcome and photo-table sign guide. If the project centers on a personalized gift rather than a table display, use the custom sign gift guide.
The practical bottom line
For most anniversary parties, start with reusable photo frames, a single medium heading, and only enough caption cards to make the timeline obvious. Mock up the whole table, check reflections in the real light, proof every date, and plan transport before ordering. Put custom spending into one keepsake-size element the couple can use after the celebration.
Browse category: Compare anniversary photo display sign categories on Amazon, then verify each item's dimensions, materials, included pieces, care guidance, and terms against your full-size layout.
 The Good Sign Company