Drywall Mounting Guide
Best sign mounting options for hollow drywall.
When no stud lines up with a sign's mounting points, the best option is the one documented for the actual sign weight, drywall condition, mounting-hole layout, and installation method. Start with the sign maker's instructions; then compare anchor formats without assuming one universal load number applies to every wall or sign.
Disclosure: As an Amazon Associate, we may earn from qualifying purchases and approved partner referrals.
Category route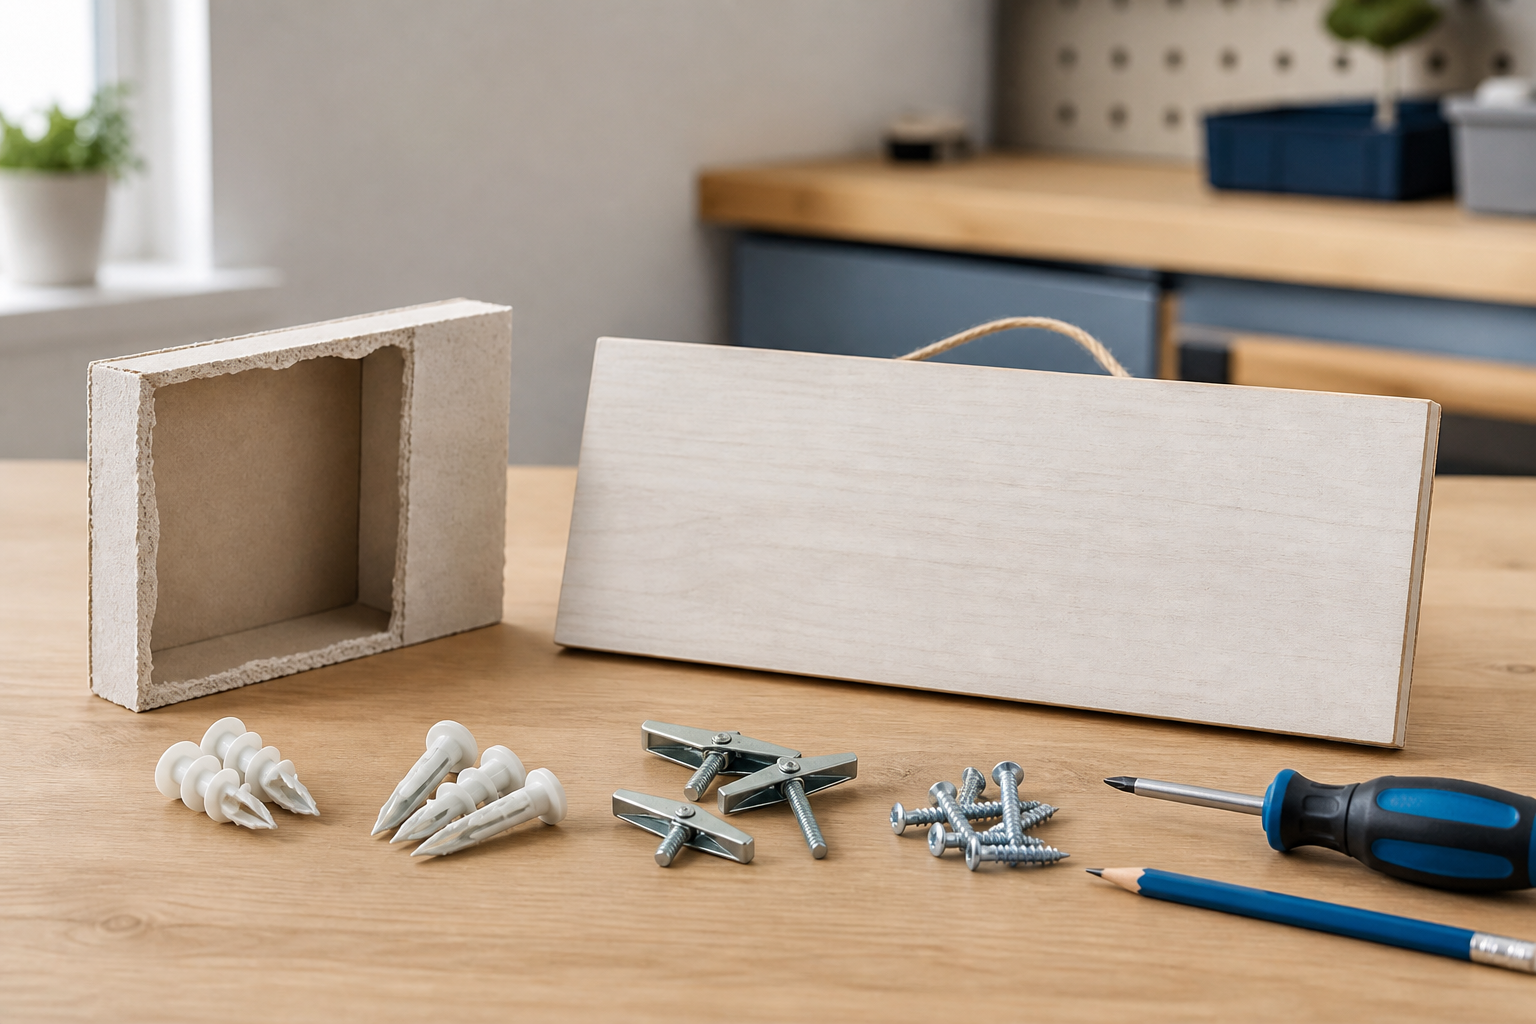
Category comparison
Compare anchor formats only after documenting the sign and wall.
Use the category route to compare manufacturer instructions, supported drywall conditions, compatible screw and panel dimensions, required tools, installation steps, and removal consequences. Verify the complete system instead of shopping by anchor appearance.
Related: start with the sign mounting supplies pillar, or use the removable-strip guide when the sign and wall are explicitly compatible with adhesive mounting.
What to verify before comparing anchors
- Finished sign weight: include attached frames, standoffs, lights, cords, and other hardware—not just the bare face.
- Mounting-point layout: identify keyholes, D-rings, wire, brackets, or through-holes and whether every point can be used as designed.
- Wall construction: confirm that the surface is sound drywall, note its thickness if known, and check for damage, patches, tile, paneling, or other layers.
- Hidden conditions: use an appropriate method to avoid wiring, plumbing, ducts, and other concealed obstacles. If their location is uncertain, stop.
- Manufacturer instructions: match the anchor, screw, wall, installation method, and stated use. Do not transfer a capacity claim from a different configuration.
- Removal plan: decide whether the anchor can be removed, pushed into the cavity, or will require a larger patch.
Mounting formats to compare
Drywall anchors: a common starting category
Compare the specified wall thickness, screw pairing, hole preparation, required tools, and removal method. A familiar shape is not proof of fit.
Toggle-style anchors: for compatible hollow-wall setups
Check the required cavity, hole size, panel thickness, bolt length, mounting-bracket clearance, and whether the toggle can deploy fully behind the wall.
Another display route: when wall mounting is a poor fit
A tabletop stand, easel, shelf, freestanding frame, or a revised stud-aligned layout may be simpler when the wall is weak, uncertain, or unsuitable for the sign.
A practical comparison framework
- Small sign with supplied hardware: follow the sign maker's specified mounting route before substituting another fastener.
- Two fixed mounting points: measure the spacing precisely and confirm both anchors can be installed under the same documented conditions.
- Powered or projecting sign: account for brackets, projection, cord routing, movement, and service access; a simple weight comparison is incomplete.
- Valuable sign or uncertain wall: prefer an appropriate installer or a non-wall display rather than learning on the finished piece.
- Stud available nearby: ask whether the sign layout or bracket can use it without modifying the sign improperly.
Who should skip a DIY hollow-drywall mount?
- Skip it when the sign maker requires stud, masonry, structural blocking, or professional installation.
- Skip it for cracked, soft, damp, heavily patched, unusually thick, or otherwise uncertain wall assemblies.
- Skip it when you cannot rule out hidden wiring, plumbing, ductwork, or other obstacles at the mounting points.
- Skip it for heavy, powered, projecting, valuable, overhead, or impact-prone signs unless the complete installation has been appropriately evaluated.
- Skip improvised anchor combinations and unsupported load math. Follow current instructions for every component.
- Renters should confirm lease and landlord requirements before making holes; this guide is not approval for a property alteration.
The practical bottom line
Choose from documented conditions, not a generic “strongest anchor” claim. Record the complete sign weight and mounting layout, confirm the drywall and cavity, compare current manufacturer instructions, plan the removal, and stop when either the wall or the hidden space is uncertain. For broader choices between mechanical and adhesive mounting, continue with the adhesive vs screw mounting comparison.
 The Good Sign Company