Craft-Fair Display Guide
Best price signs for craft fair tables: make the price easy to find.
A price sign works when a shopper can connect one amount to the right item without asking or guessing. For most makers with tidy product groups, an upright acrylic insert holder is the best starting format: it protects a printed card, takes little table space, and can be updated without replacing the holder. Mini chalkboards suit frequent same-day changes, while tent cards are the lightest route for many small groups.
Disclosure: As an Amazon Associate, we may earn from qualifying purchases and approved partner referrals.
Category route
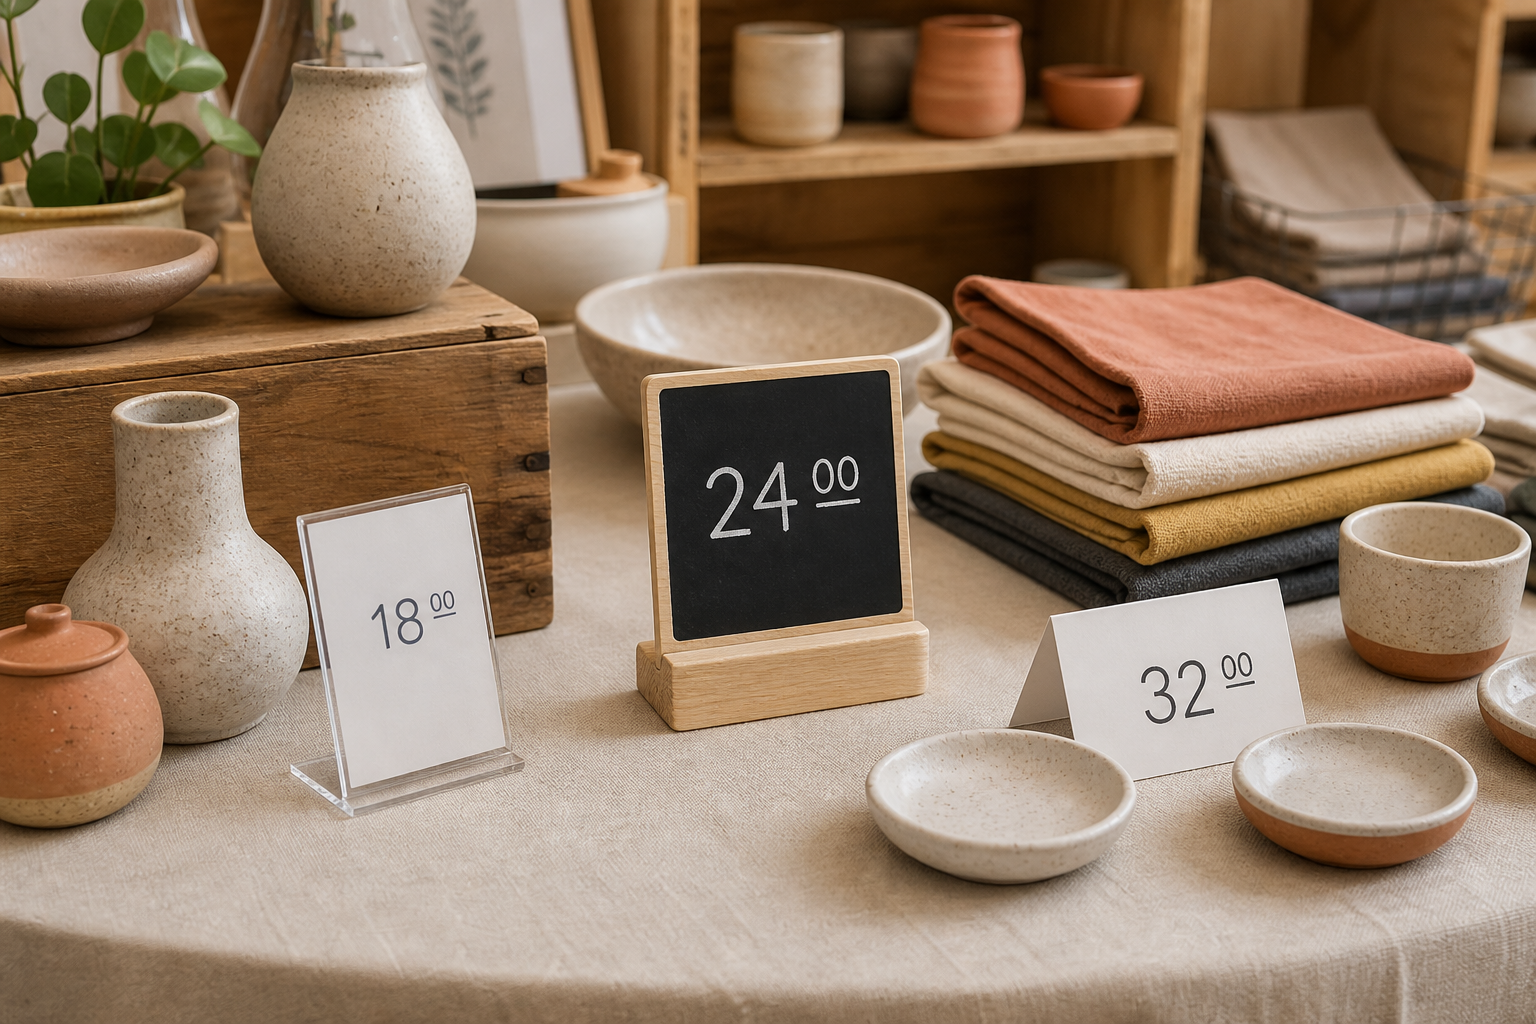
Best overall starting format
Use upright insert holders for stable product groups.
A small acrylic holder keeps a printed price card upright and separates the reusable stand from the message. Compare card size, base depth, orientation, insert access, edge finish, and reflections under the venue lighting.
Plan the whole booth: use the vendor-booth tabletop sign guide for brand, payment, and action messages beyond price.
How to compare price signs fairly
This is a category comparison and buying framework, not hands-on testing or a ranking of named products. Define the display job, then score every candidate against the same criteria:
- Reading distance: test the amount from the aisle edge and from the shopper's normal position at the table.
- Product connection: make it obvious whether the sign prices one item, one shelf, one size, or a whole group.
- Update method: choose printed inserts, erasable faces, or replaceable cards according to how often prices and variants change.
- Table footprint: measure the full base and keep the sign clear of products, checkout equipment, and wrapping supplies.
- Glare and contrast: view the sign under the expected market lighting; clear plastic and glossy cards can reflect overhead lights.
- Packing routine: count holders, cards, markers, and protective sleeves, then confirm they fit the normal transport container.
Best format by pricing job
Category route
Acrylic insert holder: best for clean grouped pricing
Use one holder beside a clearly bounded product family. Check orientation, visible card area, base depth, insert access, glare, and how the faces will be protected in transit.
Browse category: Compare small acrylic sign holders
Category route
Mini chalkboard: best for frequent rewrites
Choose an erasable face when amounts or product groups change during the event. Compare usable writing area, listed marker or chalk compatibility, base stability, cleaning instructions, and dry storage.
Browse category: Compare mini chalkboard price signs
Category route
Tent card: best for many small product groups
A folded card is inexpensive to duplicate and stores flat. Check whether the stock remains upright, whether both sides need printing, and whether the card can be placed close enough to avoid ambiguous pricing.
Browse category: Compare table tent price cards
Use a simple hierarchy for variants
Start with the amount, then add only the words needed to connect it to the product group. If size, material, or set quantity changes the amount, a short two-column card can be clearer than several nearly identical signs. Keep detailed product stories, care notes, and payment instructions on separate close-view material.
Before printing the set, place rough cards throughout a full practice display. Walk the customer route and look for two common failures: a sign hidden behind merchandise and a single amount that appears to apply to two adjacent groups.
Match the sign count to the display zones
- One sign per product group: useful when a tray, riser, basket, or shelf creates a clear boundary.
- One sign per variant table: useful when size or finish changes the amount and shoppers compare options side by side.
- Individual tags: useful when every item differs, but they add writing, attachment, removal, and packing work.
- One master list: useful only when the product names and positions are easy to match at close range.
A separate booth-identity or action sign has a different job. Compare those formats in the tabletop signs for vendor booths guide, or use the QR code sign guide when one maintained destination supports a useful next step.
Plan setup, storage, and venue fit
Pack holders so clear faces do not rub against hardware or rough merchandise. Store printed cards flat, and keep any writing tools with the sign set. At the event, keep every base inside the table edge and preserve clear access to products and payment equipment. Follow the organizer's display rules and each product's instructions for the actual setting.
For a sign that needs to be seen before shoppers reach the table, use the market-booth hanging sign guide rather than enlarging price cards until they compete with the merchandise.
Who should skip tabletop price signs?
- Skip group signs when every piece has a different amount and shoppers cannot reliably match items to a list.
- Skip clear holders when venue glare makes the card difficult to read from the customer position.
- Skip erasable faces when the message will be handled before it has fully dried or when there is no clean rewrite routine.
- Skip tent cards when airflow, table movement, or customer handling prevents them from staying upright.
- Skip a sign format that consumes the only clear space needed to examine or pick up the product.
- Skip individual pricing pieces when one well-placed group sign communicates the same information more clearly.
The practical bottom line
Start with small upright insert holders when products fall into stable, clearly separated price groups. Use mini chalkboards for frequent rewrites and tent cards when many lightweight signs must pack flat. Whatever the format, test the full table from the aisle, connect each amount to one obvious group, protect the pieces in transit, and keep the price message separate from booth branding and checkout instructions.
Continue with the small-business sign planning pillar, or Browse category: compare craft-fair price sign categories on Amazon.
 The Good Sign Company