 The Good Sign Company
Farmers Market Display Guide
Best product signs for farmers market displays: label the goods, not the whole booth.
A product sign should help a shopper identify an item or variety at close range without hiding the merchandise. The best format depends on how often the message changes, the space between products, the likely viewing angle, and whether the sign can stay upright through a busy setup and pack flat afterward.
Disclosure: As an Amazon Associate, we may earn from qualifying purchases and approved partner referrals.
Best category starting point
Compare reusable labels as a matched display system.
Look for a consistent writing area or insert size, a base that fits between products, and a message surface your team can update cleanly. Verify the dimensions, included pieces, cleaning instructions, and intended use on the current listing.
Best formats by display need
These are fit-based categories, not named winners or hands-on rankings.
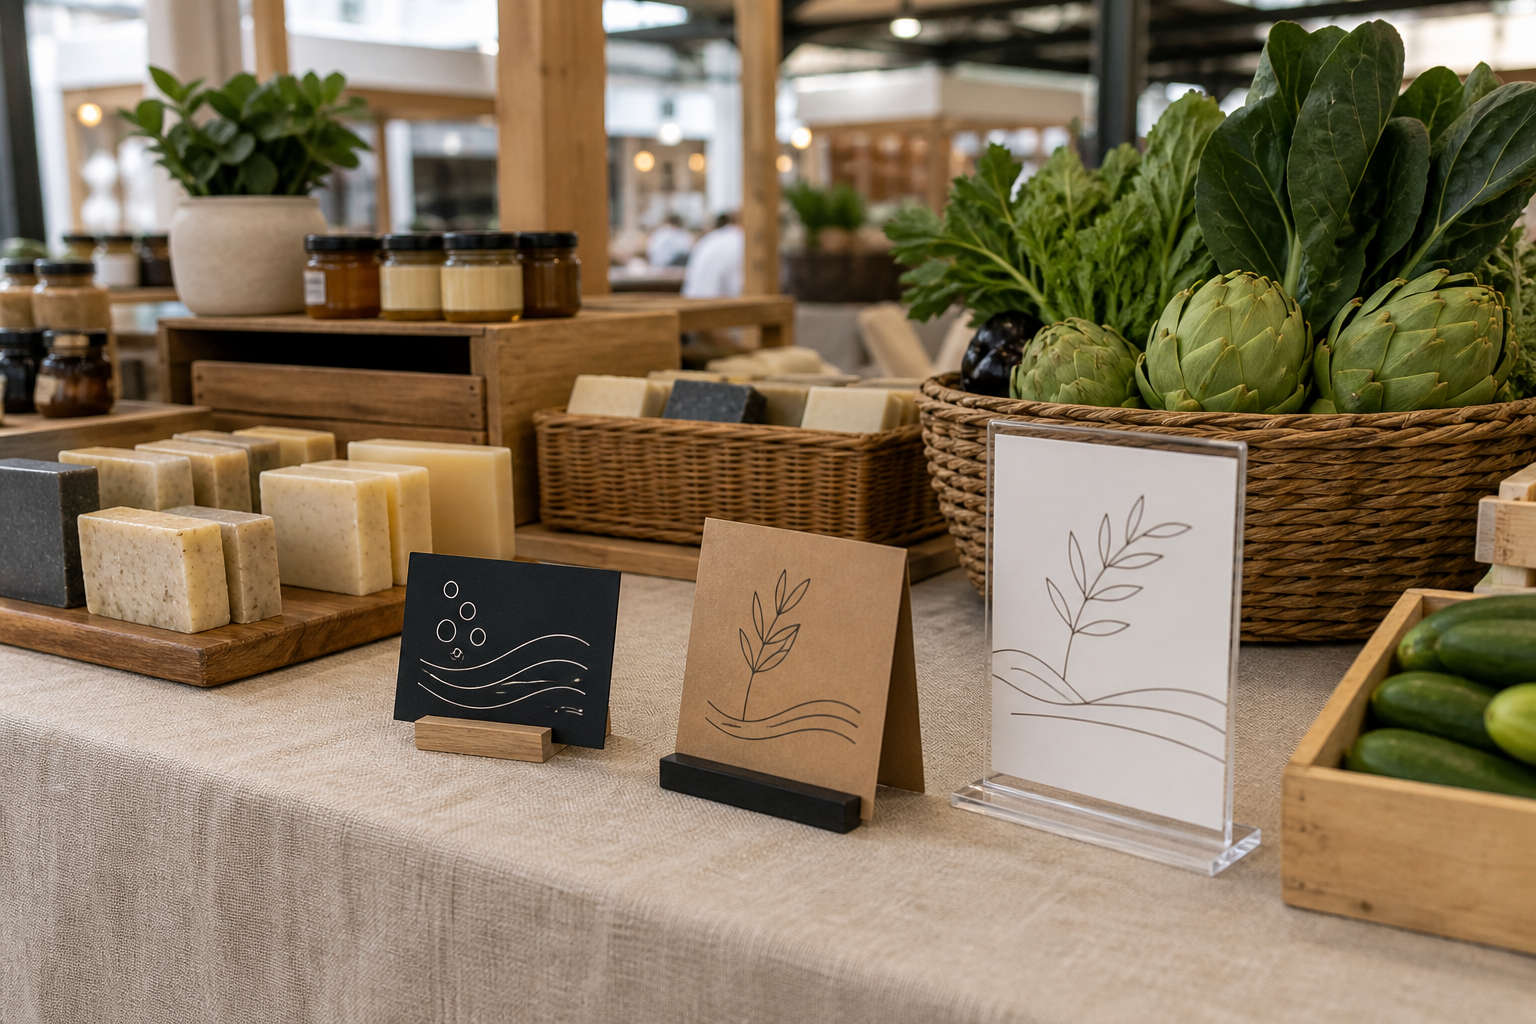
- Replaceable tent cards: best for detailed changes. Print or write inserts for seasonal varieties, then replace only the card. A fold-flat format is convenient, but confirm that it stays open and readable on the actual table covering.
- Mini chalkboard signs: best for short, frequent edits. They suit a product name or brief variety note. Compare the usable writing area, marker or chalk requirements, erasing instructions, base footprint, and legibility after repeated updates.
- Acrylic insert holders: best for clean printed labels. Inserts keep typography consistent and can carry more structure than handwriting. Check reflections from overhead lights and whether changing cards is practical during setup.
- Clip-on label holders: best when table space is tight. A clip can lift a label above a basket or tray, but its jaws, stem, and sign angle must suit the display without damaging packaging or tipping the container.
- One larger category sign: best for grouped products. Use a shared sign when several items have the same stable description. Keep item-level differences close to the relevant goods so shoppers do not have to guess.
How to compare product signs fairly
- Message job: decide whether each sign carries a product name, variety, brief characteristic, or shopper action. Move long explanations to a handout or maintained digital page.
- Readable area: measure the space available after accounting for the holder edge, clip, or fold. Test a full-size sample from the shopper side of the table.
- Changeability: choose handwriting for rapid changes or printed inserts for consistency. Record who updates labels and what supplies must travel with the booth.
- Glare and angle: view glossy cards and acrylic holders under the expected lights. A readable card can disappear behind a reflection when tilted toward the aisle.
- Footprint and stability: compare base depth with the gaps between baskets, samples, payment equipment, and customer reach paths.
- Cleaning and handling: follow the product maker's care instructions. Keep signs away from spills or condensation unless the specific materials and intended use support that exposure.
- Packed storage: count holders, inserts, markers, cleaning supplies, and replacement cards, then give the complete system a labeled container.
A quick comparison framework
- Stock and wording change every market: choose erasable cards or replaceable inserts with a template.
- Many products share one category: use a larger group sign, then smaller labels only where variants need clarification.
- The table is visually busy: standardize sign height, color, and card size rather than adding decorative variation.
- Customers approach from an aisle: angle close-view labels toward the first pause point; use a separate booth sign for brand recognition at a distance.
- Price is the only changing detail: use the narrower craft-fair price sign guide rather than asking every product label to do two jobs.
Plan the whole display with the small-business sign planning guide. If the shopper first needs to recognize the booth, compare tabletop booth signs and hanging market-booth signs.
What belongs on the card?
- Write the product name shoppers use first.
- Add only the distinction needed to choose between nearby items.
- Set a consistent line order and type or lettering style across the display.
- Print or write one full-size test, place it beside the product, and view it from the customer side.
- Check every label against the current product and update or remove stale cards before opening.
This page is a display-selection framework, not food-labeling, allergen, weights-and-measures, licensing, or market-rule advice. Confirm required product information and sign placement with the relevant market operator and authorities for the products and location.
Who should skip these options?
- Skip tiny individual labels when one category sign communicates the same stable information more clearly.
- Skip erasable surfaces when the team cannot keep the matching writing and cleaning supplies in the booth kit.
- Skip tall clip holders beside light containers if routine contact makes the complete setup unstable.
- Skip glossy acrylic where reflections obscure the message from the main approach.
- Skip handwritten labels when consistent typography or detailed mandatory information requires a controlled printed process.
- Skip any sign format that blocks product visibility, customer reach, payment space, samples, or the seller's working area.
The practical bottom line
Start with one reusable label system sized for the gaps in the display. Use the shortest useful product message, test it from the shopper side under real lighting, and keep updates and storage simple enough to repeat every market. Treat pricing, booth identity, and product identification as separate sign jobs when combining them makes the table harder to scan.