Best Grout Cleaning Brushes for Bathrooms
The best grout brush for routine bathroom cleaning has a narrow head that stays on the joint, bristles suited to the surface, and a handle you can control without grinding the surrounding tile. Most bathrooms need a simple manual brush—not a powered attachment or the stiffest bristles available.
As an Amazon Associate, The Good Home Doc may earn from qualifying purchases.
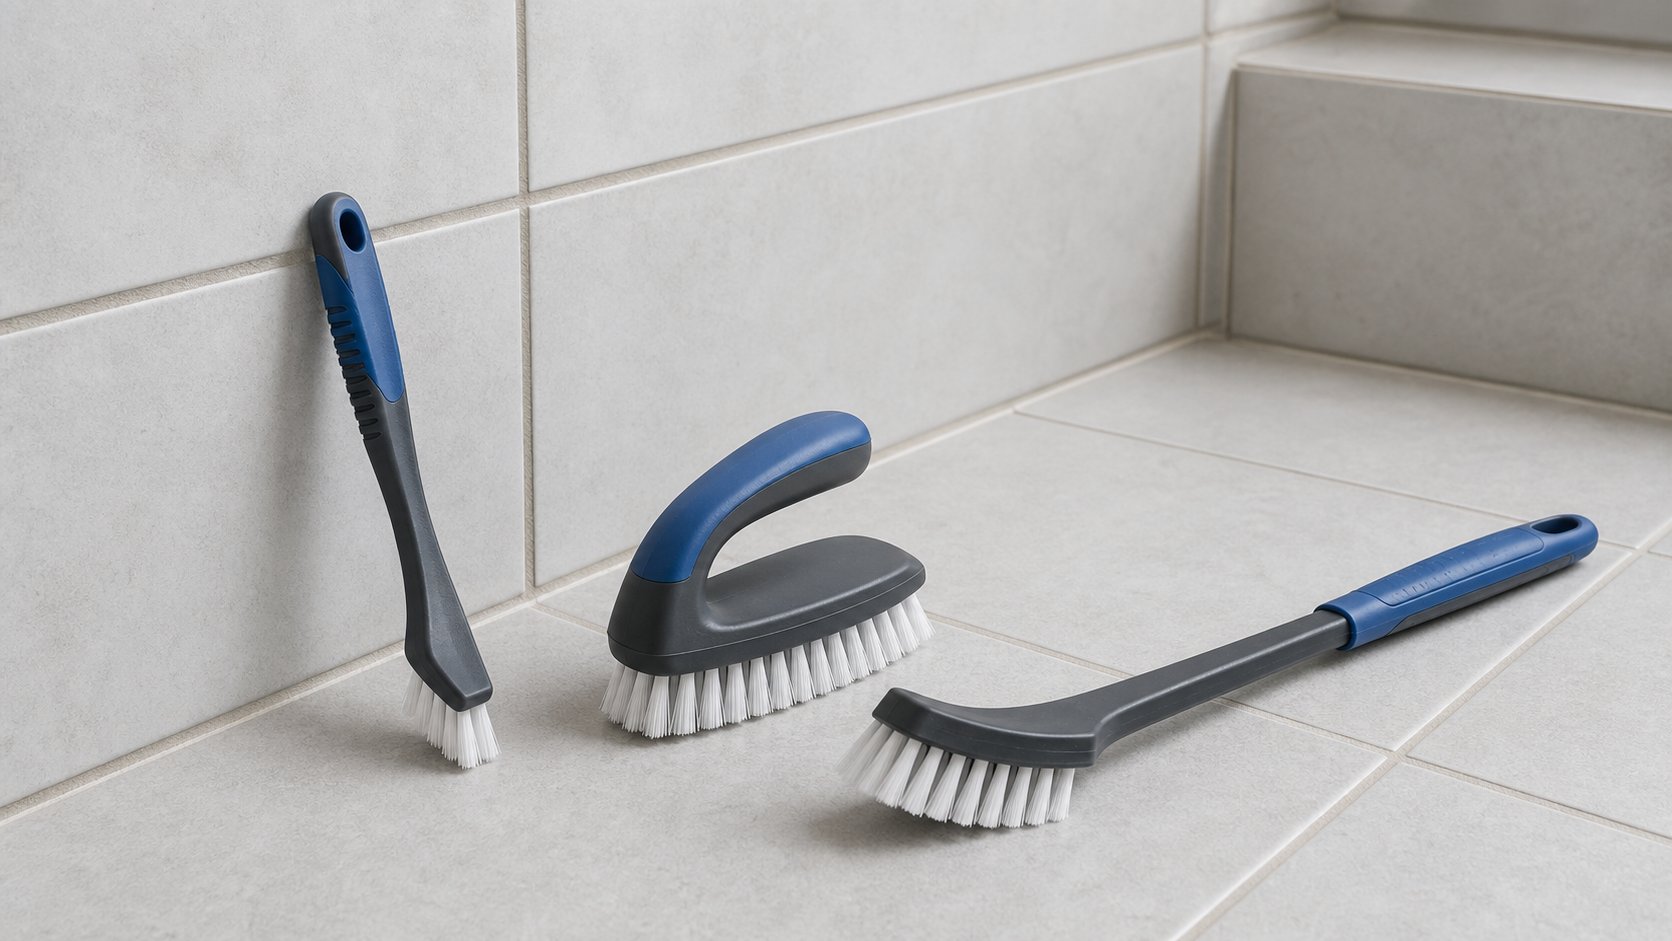
Compare the brush type first: These affiliate category links are shopping starting points, not tested rankings.
- Browse category: Narrow grout brushesBest starting point for most straight tile joints and tight corners.
- Browse category: Angled hand scrubbersWorth comparing when grip and leverage matter more than pinpoint access.
- Browse category: Long-handled grout brushesUseful for bathroom floors when kneeling or deep bending is impractical.
Confirm the maker's surface guidance, bristle material, head dimensions, and care instructions. Test any brush and cleaner in an inconspicuous spot before wider use.
This guide compares brush formats and fit, not individual brands. A grout brush can remove ordinary surface soil and residue, but it does not repair cracked or crumbling grout, stop a leak, or diagnose dark staining. If the bathroom stays damp or shows soft surfaces, recurring discoloration, loose tile, or a musty odor, start with the home leaks and moisture prevention guide and consider qualified help rather than scrubbing harder.
Quick Picks by Situation
- Best for most tile joints: a narrow nylon-bristle detail brush with a slightly angled head and a non-slip handle.
- Best for corners and around fixtures: a compact V-shaped or tapered head that reaches intersections without a bulky brush body hitting the wall.
- Best for larger floor areas: a long-handled brush with a narrow pivoting head, provided the handle stays controlled rather than flexing heavily.
- Best for easier gripping: a palm-style scrubber with an elevated handle, if its bristle strip is narrow enough to follow the grout.
- Best for delicate or uncertain surfaces: a softer nylon brush used first in a hidden area after checking the tile and grout care guidance.
What a Grout Brush Should Solve
A useful grout brush concentrates moderate pressure on a narrow joint while keeping your hand away from the tile edge and cleaning solution. It should reach wall corners, floor joints, and the line beside a tub without forcing your wrist into an awkward angle. It should also rinse clean and dry between uses.
It should not encourage aggressive scraping. Metal bristles, sharp picks, and extremely rigid heads can scratch tile finishes or wear grout. Powered drill brushes add speed but also reduce control, so this guide stays with drill-free hand tools for routine cleaning.
Comparison Framework
Narrow Detail Brushes
A slim row of nylon bristles follows a grout line more accurately than a wide household scrub brush. A modest angle between handle and head keeps knuckles off the wall.
Choose this type if: you are cleaning standard wall or floor joints, shower corners, or the tile edge around a tub.
Watch out for: heads wider than the joint, exposed hard-plastic edges, and handles too thin to grip comfortably when wet.
V-Shaped and Tapered Brushes
Rows of bristles arranged in a V can sit inside wider or recessed joints and reach intersecting corners. A pointed tip may help around fixtures where a rectangular head cannot turn.
Choose this type if: the grout is recessed, the joints vary in width, or corners are the main problem.
Watch out for: a hard tip that contacts the tile before the bristles do and very stiff center bristles that make controlled pressure difficult.
Angled Palm Scrubbers
A raised palm handle spreads effort across the hand and can feel steadier on floors or broad tiled walls. Some use a narrow bristle strip; others are really general-purpose scrub brushes.
Choose this type if: you prefer a larger grip and have enough open tile area to move the brush.
Watch out for: broad heads that scrub more tile than grout and tall handles that cannot reach behind faucets or near trim.
Long-Handled Grout Brushes
A longer handle reduces kneeling and deep bending on tiled floors. The most useful designs keep the head narrow and make it easy to direct pressure along—not across—the joint.
Choose this type if: the job is mainly open bathroom floor and a short hand brush is uncomfortable to use.
Watch out for: flexing poles, loose threaded joints, heads that flip unpredictably, and pressure that is harder to judge from standing height.
Must-Have Features
- Nylon bristles matched to the surface: Start with medium or softer nylon unless the surface maker allows something firmer. Avoid metal bristles on bathroom tile and grout.
- A head close to the grout width: The working bristles should stay centered on the joint instead of scraping a wide band of tile.
- Controlled handle angle: A modest bend helps keep pressure over the head and protects knuckles near walls.
- Wet-hand grip: Texture or a broad handle matters more than decorative rubber inserts that trap water.
- Rinseable construction: The head should release grit and cleaner without deep cavities that stay damp.
- A safe storage point: A hanging hole or open caddy spot lets the bristles dry instead of sitting wet in a cup.
Nice-to-Have Features
- Replaceable head: Useful if replacements are readily available and the connection remains firm.
- Two bristle zones: A narrow tip plus a slightly wider rear section can cover corners and straight runs with one tool.
- Color coding: Helps keep the bathroom brush separate from brushes used in the kitchen or elsewhere.
- Compact scraper-free tip: A shaped bristle tip can reach edges without adding a hard scraper that may damage finishes.
Match the Brush to the Surface
Glazed ceramic or porcelain tile: a medium nylon detail brush is a sensible starting point, but follow the tile and grout maker's care instructions and test first.
Natural stone, specialty coatings, or colored grout: do not assume a common brush or bathroom cleaner is compatible. Use the installer or material supplier's guidance; acidic or abrasive products can alter some surfaces.
Caulked joints: caulk is softer than cement grout. Do not attack it with a rigid grout brush. If caulk is split, loose, or peeling, cleaning will not restore the seal.
Cracked or crumbling grout: skip brushing until the underlying condition is assessed. Scrubbing loose material can make the joint worse without solving the reason it failed.
Cleaner Compatibility and Safe Use
The brush and the cleaner are separate decisions. Follow the cleaner label, ventilate as directed, and never mix cleaning products. More force is not a substitute for the right product and dwell time. Avoid recommending bleach, acids, steam, or homemade mixtures as universally safe because bathroom materials vary.
Wet the area only as directed, work a small section, use light pressure first, and rinse or wipe away loosened residue. Stop if the brush leaves marks, pulls material from the joint, changes the finish, or catches on damaged edges.
Maintenance and Replacement
Rinse the bristles thoroughly, shake out water, and store the brush where air can reach the head. Do not leave it bristle-down in dirty water or sealed in a damp cabinet. Replace it when the bristles splay, stay discolored after cleaning, develop an odor, or no longer track the joint.
A separate brush for the bathroom is easier to manage than moving one brush among toilets, kitchens, and other cleaning zones. Label or color-code tools if several people share the routine.
Who Should Skip a Grout Brush
Skip this category if the surface has delicate stone, a specialty finish, failing grout, loose tile, damaged caulk, or care instructions that prohibit scrubbing. Also skip a short hand brush if kneeling, gripping, or repetitive scrubbing is uncomfortable; a controlled long-handled option or professional cleaning help may fit better.
Do not treat persistent dark areas as an invitation to scrub indefinitely. Recurring staining paired with dampness, odor, leaks, soft wall material, or widespread growth calls for finding the moisture source and getting appropriate help.
A Practical Buying Checklist
- Identify the tile, grout, caulk, and any surface coating.
- Measure or visually compare the grout width with the brush's bristle strip.
- Choose the softest bristle stiffness likely to handle routine soil.
- Match the handle to the location: compact for corners, long for open floors.
- Check how the brush rinses, dries, and stores before buying.
- Test both brush and cleaner in an inconspicuous area.
Bottom Line
For most bathrooms, start with a narrow manual grout brush using medium nylon bristles, a slightly angled non-slip handle, and a head that stays within the joint. Choose a tapered head for corners or a controlled long handle for open floors. Skip aggressive bristles and powered tools when surface compatibility is uncertain, and treat damaged grout or persistent moisture as a repair question rather than a cleaning-tool problem.