Best Washing Machine Leak Pans for Laundry Areas
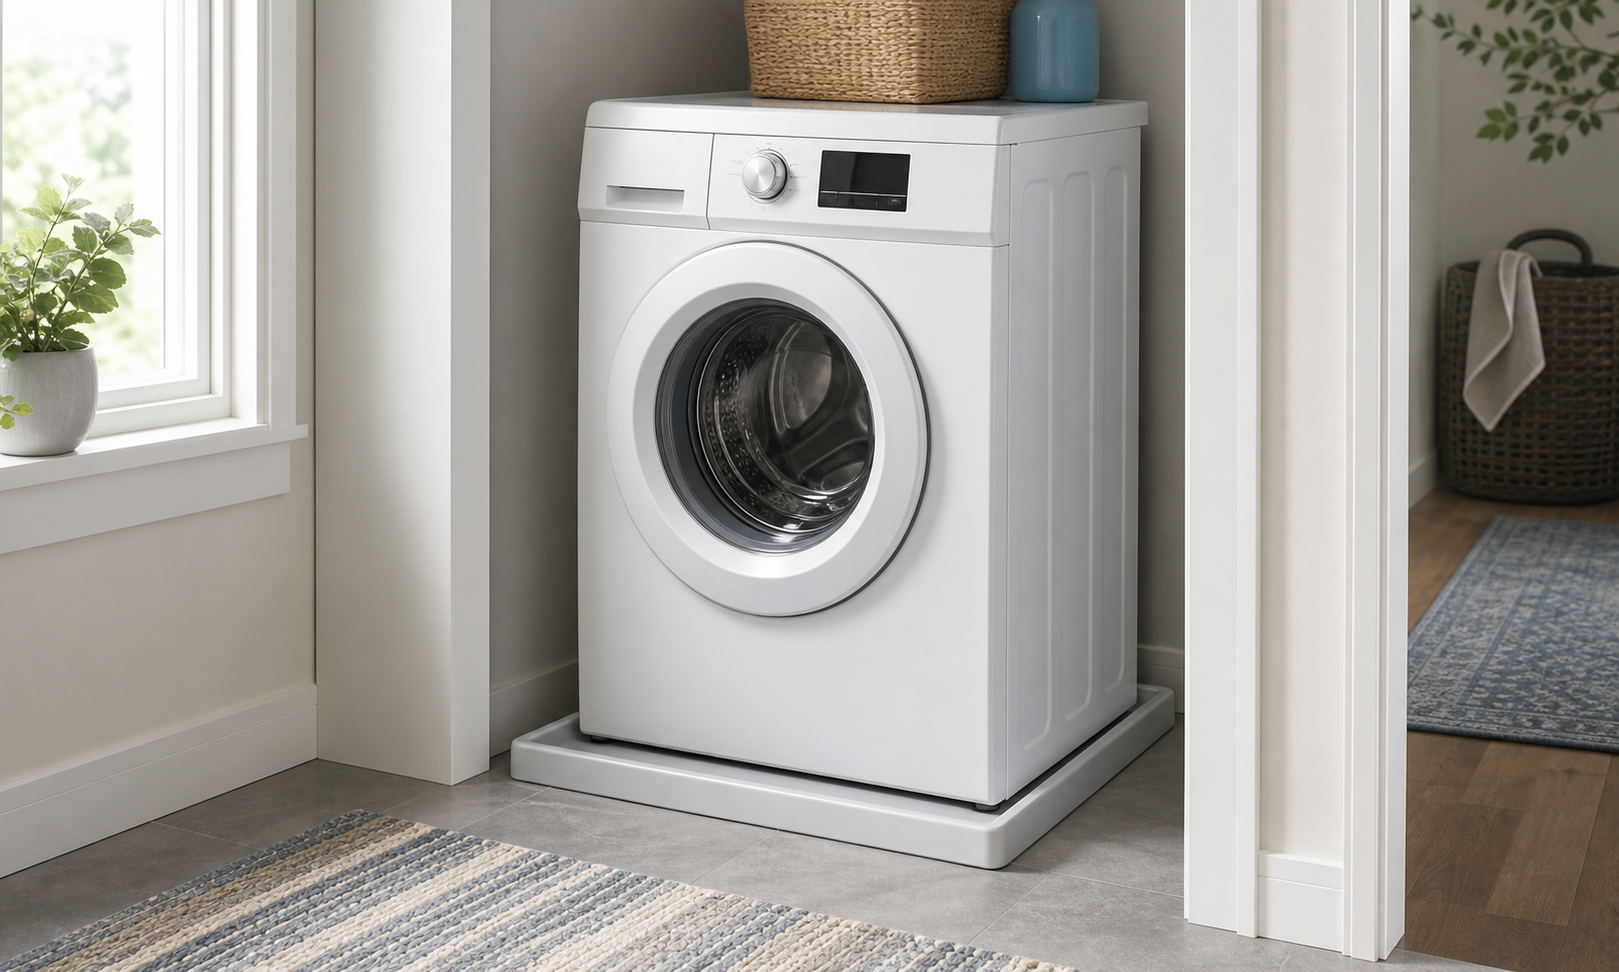
For a washing machine in a finished laundry area, the most useful leak pan is a rigid, appliance-rated pan with enough interior room for the machine feet, a low front edge that does not obstruct access, and a drain configuration planned for the actual room. A pan can contain a small drip or direct limited water toward a drain, but it cannot control a burst supply hose, an overflowing standpipe, or every large leak.
As an Amazon Associate, The Good Home Doc may earn from qualifying purchases.
Compare the pan to the appliance and room: These affiliate category links are shopping starting points, not tested rankings.
- Browse category: Low-profile washing machine pansA practical starting point when doorway clearance and appliance access are tight.
- Browse category: Heavy-duty appliance drain pansCompare rigid materials and reinforced bases for a permanent laundry position.
- Browse category: Leak pans with drain fittingsConsider only when a qualified plumber has confirmed where and how the drain may connect.
Confirm interior dimensions, appliance foot position, pan material, lip height, drain-fitting location, installation method, service clearance, and manufacturer instructions before buying.
This guide covers containment pans, not washing-machine repair or drain design. For a broader prevention plan that includes supply hoses, alarms, and regular checks, start with the home leaks and moisture prevention guide.
Quick Picks by Laundry Setup
- Best for most finished laundry rooms: a rigid low-profile pan whose interior dimensions exceed the washer footprint and foot locations.
- Best when a floor drain connection is already approved: a pan with a compatible, accessible drain fitting installed to local requirements by a qualified plumber.
- Best for a tight closet: the shallowest durable pan that preserves door swing, machine controls, leveling access, and required clearances.
- Best when a drain cannot be added: a solid containment pan paired with a separate water-leak alarm, with realistic expectations about limited capacity.
- Best for an upstairs laundry area: no pan purchase until appliance support, drain routing, building requirements, and installation access are confirmed.
Comparison Framework
Rigid Plastic or Composite Pans
These are lightweight, resist corrosion, and are widely available in common appliance sizes. Quality varies: thin pans may flex during installation, while reinforced models better support careful appliance placement without claiming to carry the building load.
Choose one if: its listed interior dimensions and material suit the washer and the installation method. Skip it if: the base visibly flexes, the feet would sit on a sloped wall, or the manufacturer does not allow it beneath your appliance type.
Metal Pans
Galvanized or stainless pans can feel more rigid and may be available in custom dimensions. Check seams, edge finish, corrosion resistance, and whether vibration could create noise against the appliance or floor.
Choose one if: you need a rigid size that matches a permanent laundry position and can install the appliance without deforming the edges. Skip it if: sharp edges, seams, corrosion risk, or electrical contact concerns are not addressed by the manufacturer and installer.
Drained Versus Undrained Pans
An undrained pan holds only the volume below its lowest edge and needs regular inspection. A drained pan may route limited water away, but only when the fitting, pipe, destination, slope, and local requirements are correct. A drain hole that leads nowhere useful can make containment worse.
Choose a drained setup if: a qualified plumber confirms an appropriate connection. Choose an undrained setup if: you need limited visible containment and accept that it must be checked and emptied. Neither setup replaces a sound supply, discharge system, or prompt repair.
Measure Before You Shop
- Find the washer maker's overall width and depth, then measure the actual foot-to-foot footprint; the feet must sit on the flat pan base.
- Measure the laundry opening, doorway, trim, baseboards, shutoff access, drain standpipe, dryer clearance, and door swing.
- Compare the pan's interior dimensions with the appliance footprint. Exterior dimensions alone can hide sloped sides and a smaller usable base.
- Check lip height against the washer's access panels, pedestal, drain filter door, leveling points, and the path used to move the appliance.
- Plan how the machine will be lifted or slid into place without crushing the pan. Follow the appliance and pan instructions; get professional help when safe placement is uncertain.
Must-Have Selection Criteria
- Usable interior size: all appliance feet need full, level support inside the flat base.
- Appliance-compatible material: use a pan intended for washing-machine placement, not a generic shallow utility tray.
- Service access: preserve access to shutoffs, hoses, the plug, drain filter, controls, and required appliance clearances.
- Practical lip height: high enough to offer limited containment but low enough for the machine and installation route.
- Visible inspection area: you should be able to notice water, debris, cracks, or a displaced foot.
- Compatible drain provision: if used, the fitting must match the pan and a professionally approved destination.
Nice-to-Have Features
- Reinforced corners or base: useful during careful installation, provided they do not reduce the needed flat area.
- Removable or configurable fitting: helpful only when it seals reliably in the required location.
- Light-colored interior: can make small drips, rust, lint, and residue easier to see.
- Rounded corners: simpler to wipe than tight square seams.
- Manufacturer-listed dimensions diagram: far more useful than a single nominal size.
Installation and Maintenance Tradeoffs
Placing a heavy washer into a pan is often harder than choosing the pan. Do not tilt, lift, or drag the appliance in a way that conflicts with its instructions, damages flooring, bends the pan, strains hoses, or puts a person underneath an unstable machine. Appliance installers or other qualified help are the sensible choice when access is tight or the washer cannot be moved safely.
After installation, verify that the machine is level according to its manual and that every foot remains on the supported base. Look into the pan during routine laundry-area checks. Clean lint and residue, investigate any water promptly, and replace a cracked or deformed pan rather than assuming it will hold the next leak.
Drain and Building Limits
Do not cut a drain opening or connect piping based only on a product photo. Drain routing can involve plumbing, waterproofing, shared-building rules, and local requirements. A qualified plumber should determine whether a connection is permitted, where it may discharge, and how it should be installed.
A pan also does not establish that a floor can support an appliance or that an upstairs laundry installation is suitable. If there is visible floor movement, damage, an uncertain structure, or a new laundry location, pause and consult the appropriate qualified professional.
Who Should Skip a Washing Machine Pan
Skip a pan that forces the washer feet onto a sloped edge, blocks required service access, prevents leveling, crowds hoses, or cannot fit through the installation path. Skip DIY drain work when no approved drain connection exists. If there is already water, staining, a soft floor, repeated drain backup, or a leaking supply connection, address the source instead of covering it with a new pan.
For early warning where a pan cannot be inspected easily, compare washing-machine leak detectors built around appliance placement and alert reach. The compact leak detector guide is useful for general sensor-format criteria, but always use the sensor maker's instructions for a laundry area. If the problem is persistently damp air rather than water in or around the pan, compare hygrometers for moisture trends and investigate the underlying source.
Bottom Line
Start with the washer's real footprint and service needs, then choose a rigid appliance pan with a flat base, manageable lip, and visible inspection area. Treat a drain fitting as a plumbing decision, not a bonus accessory. A well-fitted pan can buy time with a limited drip, but regular hose checks, accessible shutoffs, leak detection, and prompt repair still do the important prevention work.